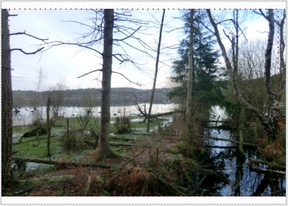
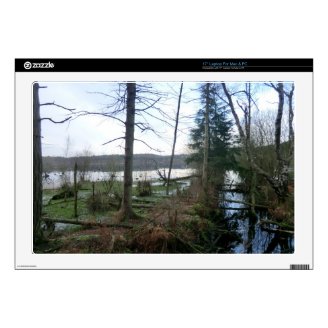
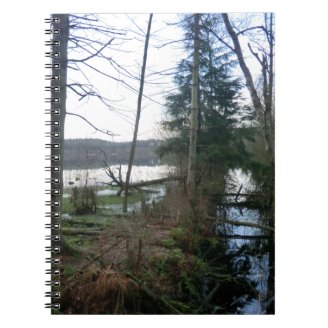
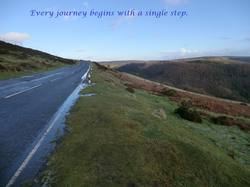
Divide any image into nine equal parts, and the majority of great ones will have their focal point at the hotspots. This is where the grid-lines cross, or where I've placed stars on the photograph above.
The way that Zazzle works is to assume that this will be true of your picture too. For most people, it will work perfectly, when the fill tool protects that over all else; or when the default alignment shows only that central square and its immediate environment.
However, my image is an example of where this whole basic tenet falls down. Arguably, the middle is the most boring element of the scene. The dark stream on the right is fundamental to the composition.
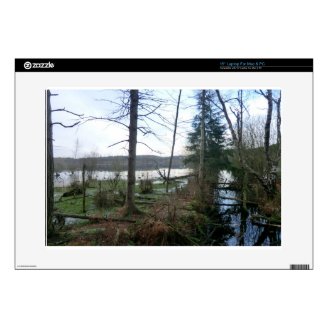
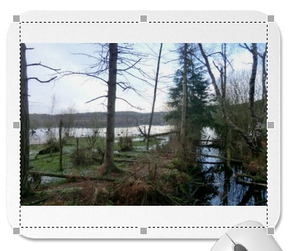
Fortunately, Zazzle provides us with the arrow tool for this kind of fine-tuning. This works best with things like ceramics or decorations, where only a small area of the image is used. That will always be the hotspot area.
Clicking up, down, right, left, as appropriate, you can re-align the picture to your chosen spot. But if you have one like mine, it may take some time to do this with dozens of products. If speed and efficiency is your thing, then it could be worth being more selective with the items that you choose for market; and only using images with traditional hotspot focal points on Zazzle.
With much thanks to Ember, who explained this facet of art photography to me!

 It would certainly be easier for us sellers to list the products exactly as the uploads leave them. But occasionally that isn't the best that they could be.
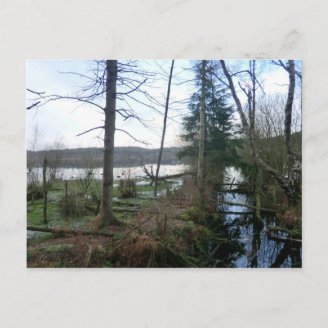
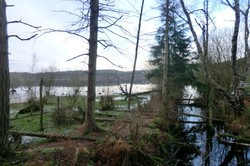
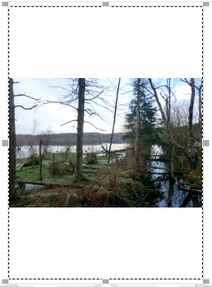 Some Zazzle items will never look good, no matter how often you press the fill button, or pull the edges. The image or artwork simply will not fit the available space. It's too much of a square peg in a round hole.
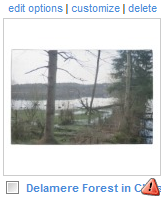 Occasionally the option to keep a bad product is taken away from you, but with good cause!
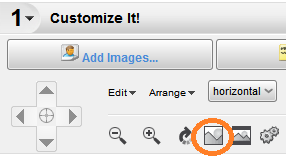


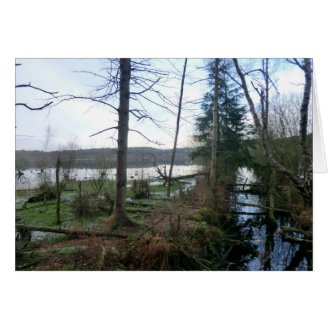


 To my mind, the mousepad template is the most fiddly of all to align.
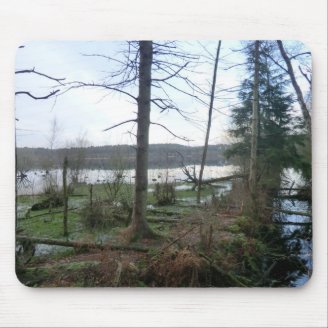

 St Tydecho's Churches in West Waleson 09/03/2014
 Goodies for an Outlander Premiere Partyon 03/06/2015
 Holocaust Memorial Day Interview with Rainer Höss, Grandson of Rudolf Architect of Auschwitzon 01/24/2015
 Romantic Valentine Gifts for an Outlander Fanon 01/16/2015
Comments
Excellent article on how to "Size up" articles on Zazzle! Thank you!
It is quite good there. When you get into a rhythm, you hardly notice yourself clicking away either, so you can listen to eBooks and podcasts while you do it.
Good luck with your Zazzle store. I've been concentrating on mine too since New Year, as you can probably tell!
I'm amassing a number of photos that I'd love to use in a Zazzle store (one of my New Year resolutions....from last year....!), and it's good for me to see what kinds of tools are available for working with images, such as what you've shown here about centering images.
If you live near to Delamere Forest in Cheshire, then it was! :)
Yes, I found out about the centring, in some products not all, by accident. I had beautifully arranged an image and nearly had it right, then went into automatic and pressed the 'fill' button. I cringed, then looked and cheered!
So the fill button leaves white spaces on certain items now? You make products that I don't so I guess that is why I haven't noticed that. I also don't use QC much either. That photo you used to demonstrate looks like it could have been taken just down the road from me!
I see someone is having fun on Zazzle :) But how do you do the gridlines in Zazzle?
lol You just don't leave any stone uncovered ;) And I'm glad that you liked it. <3
Jo, You've got to teach me how to write a mile long article on such a simple subject. lol Great tutorial.
I'm getting lessons from Ember and Bethany! I can't take any credit for the hotspot parts. But I am good at pressing buttons in Zazzle, just to see what they do.
Jo, you are motoring so much faster than I when it comes to photography and Zazzle. I'm going to be needing this page in the future. :)