Dying Easter Eggs is a time honored tradition that many families have enjoyed for years. If it has been a while for you since you've dyed eggs and you would like some tips, I am here to help. If you've never dyed Easter Eggs before in your life, then I am really happy to help you. It is really not a difficult task and it won't take too long at all. So let's have some fun dying some Easter Eggs together!

How to Dye Easter Eggs
Learn some tips and tricks to dying Easter Eggs. You don't want to show up at the Easter Egg Hunt with ugly eggs, right?
What You'll Need to Dye the Eggs
Dying Easter Eggs hardly takes any materials at all. You will need:
- A stove
- A pot
- Water
- Vinegar
- Eggs
- Cups
- Food Coloring or Egg Dying Kit
- Spoon
- Tablespoon
- Measuring Cup
See! That was easy, now wasn't it? You probably had most of this stuff just sitting around your kitchen anyway.
Boil Those Eggs
The most important part of the Easter Egg dying process is to first boil the eggs. Obviously, you are going to need something to dye. I usually put a dozen eggs in a pot to boil. I like to add a few drops of vinegar to the water before I put the eggs in the pot to boil. The drops of vinegar prevent the eggs from leaking in case they crack a little. Some people will say not to use the vinegar if you intend to dye the eggs, but I've never had any issues. It is way better than having one egg crack and egg white spill into the water.
Once the water starts boiling, I usually let my eggs boil about 15 or 20 minutes. Once again, there are people that will disagree with me on that. Some say that is too much time to boil, but I would rather be safe than sorry. Yes, in case you are curious, I do eat my eggs even after I've dyed them. I never let boiled eggs go to waste.
After the eggs are through boiling, you can take them off the stove. I usually dump out the water, pour cold water in with the eggs, and then add ice. This speeds down the cooling process so you can get to the fun part.
A Watched Pot Never Boils...
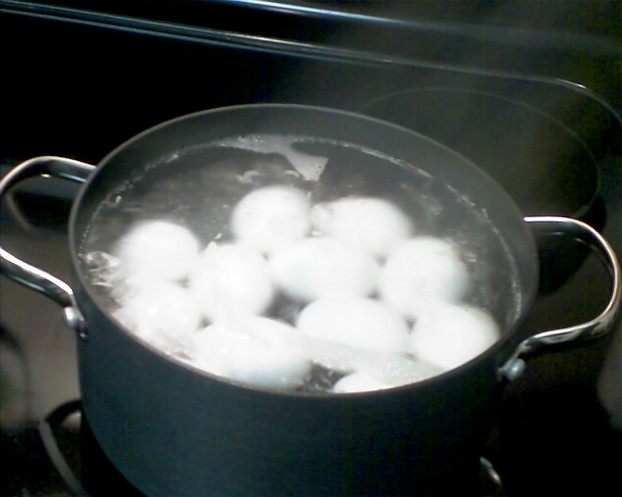 Eggs Boiling Jeannieinabottle |
Let's Dye Some Eggs!
You can either go two routes with egg dying: you can buy a kit at the store for just a few dollars or you can use some food coloring. I highly recommend going to the store and buying the kit. It is fairly inexpensive, it will usually includes fun items other than dye, and it will make the process easier. If you do choose to use food coloring, you will need to use vinegar and boiling water. You will not need boiling water for an egg dying kit, so let's go with that method.
I am using PAAS this year, which is a pretty standard brand sold at all stores. It is also usually one of the least expensive kits, so that is really why I like it so much. There are three different suggestions on how to handle this process: you can either use vinegar, you can use lemon juice, or you can use water. I don't have lemon juice just laying around in my apartment and I am not that fond of the smell of vinegar, so the water method is the best option in my opinion.
Set out a number of cups to use for the water and dye tablets. A normal, civilized person will tell you to line your table with newspapers before putting out the cups. This is an especially good idea if you are doing this with children. Also, you might want to have the kids put on some clothes that no one really likes that much in case the dye splashes. Since I am a rebel and decided against using newspapers, I will move forward with this process. I personally like to use disposable cups for dying eggs, too. It can be difficult to clean cups after you've put dye in them. Also, since I was too lazy to line the table with newspapers, obviously I am too lazy to worry about doing dishes once the egg dying experience is over.
The instructions state to add a tablet per cup and then put in 3 tablespoons of water per cup. Once the tablet dissolves, add 1/2 cup of water to each cup. Now, I found this process did not work out so well. I don't know if I did something wrong or if I am just too impatient, but at some point, you should probably just smash the tablet with a spoon in each cup. This really speeds the process along. After doing that, then you can add the 1/2 cup of water.
Now is the time to add the eggs that have been cooling. Just start plopping one egg in each cup. Next, you need to wait. If you have one of those nifty egg holders available that came with the kit, take that out and periodically check on your eggs. Once the eggs reach the desired color, take them out. It is just as simple as that!
Killing Time While the Eggs Change Color
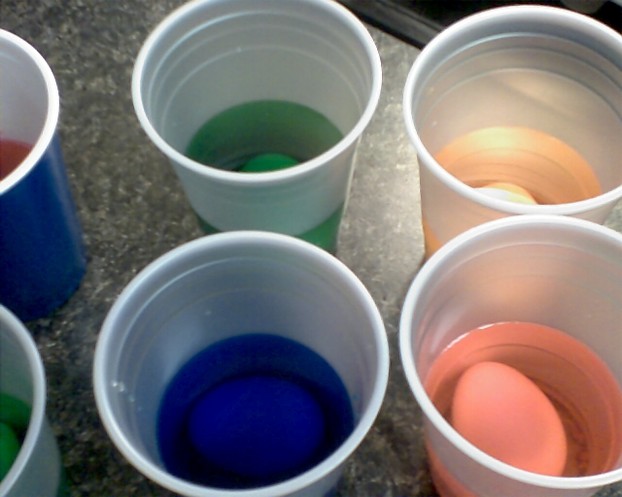 Dying Easter Eggs Jeannieinabottle |
Some Extra Tips and Suggestions for You
After the eggs come out of the colored water, you can put them back in the egg carton. Usually the PAAS box also has a way to punch holes in the box and you can use that for the drying eggs, too. Either way, try to touch the eggs as little as possible during the drying process.
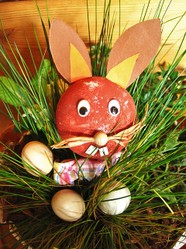
Please keep in mind, there is always at least one egg that is horrifically ugly. Don't blame yourself. It happens to all of us. I am convinced this is why PAAS includes those cute stickers and holders in the box. This is so you can cover up the really ugly egg with other stuff and distract everyone from the fact that it has spots and it is discolored.
Another thing you might enjoy doing during the Easter Egg dying process is adding food coloring to what you are already doing. While the egg is already sitting in the colored water, you can add a drop or two of food coloring to the water. If you remove the egg immediately, you will usually find a tye-dye look to it because of the drops that were added. If not, hey, at least you tried. It probably only made the color more vibrant.
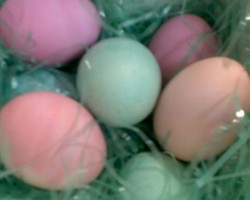
Last but not least, I like to add all the colors to one cup when I am almost finished. Then I take the last egg and put it in to see what I get. Usually I get an ugly brown color, but I managed to get a lovely purple splattered pink egg this time. What a delightful surprise! If you try it, but you end up with an ugly egg, that is OK. Remember, that is why the stickers exist.
I hope you've had lots of fun dying your Easter Eggs. Make sure to refrigerate them as soon as possible after dying the eggs just in case you are going to eat them. I never let good food go to waste. I've been eating dyed Easter Eggs my whole life. Just remember, refrigerate them right after dying them! Most of all, have fun and happy Easter!
Fun With Easter Eggs!
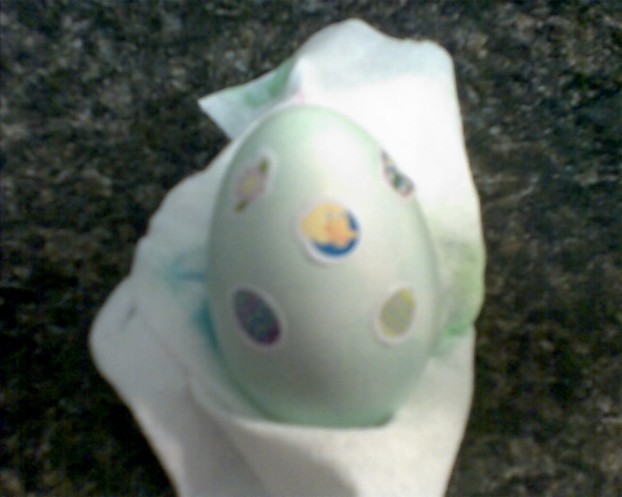 The Ugly Egg Jeannieinabottle | 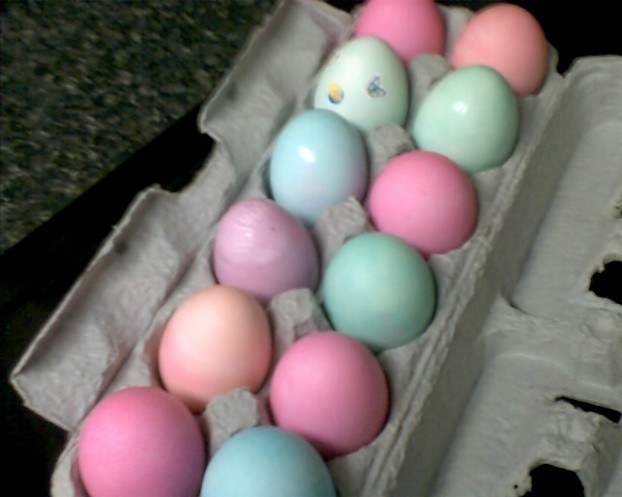 A Dozen Easter Eggs Jeannieinabottle |
Easter Egg Products from Amazon
 | Philonext Easter Egg Decorations kit,Easter Egg Spinner,Egg Decorator Machine with 8 Colorful Qui... The Easter eggs coloring kit is a new, DIY, creative decorating Easter eggs. No dyes& no smells. When the switch is turned on,the egg will rotate automatically.Without messy and... Only $28.99 |
 | Paas Easter Egg Coloring Cup Kits - 6 Pack Let your kids watch in amazement as the eggs change colors in front of their eyes with the see through cups. No mess. Just add a dye tablet, water and vinegar to the unique egg-... Only $19.79 |
 | Paas Easter Egg Color Cups 2 Pack (Deluxe Egg Decorating Kit) PAAS Easter Egg Color Cups Set -- 2 Pack. Deluxe Egg Decorating Kits Filled with Color Cups, Dye Tablets, Dippers, Magic Crayons and More. Includes: 2 Classic Easter Egg Color C... |
 | PAAS Shake & Color Easter Egg Decorating Kit glitter egg decorating kit Only $3.00 |
Updated: 02/21/2012, Jeannieinabottle
You might also like
Easter Crafts for PreschoolersRunning out of ideas? Preschoolers on a holiday can be really demanding. Here...
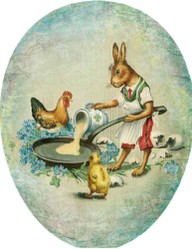
Vintage-Style Paper Maché Easter Eggs to Fill YourselfThe old-fashioned cardboard Easter eggs with their vintage pictures have neve...
Disclosure: This page generates income for authors based on affiliate relationships with our partners, including Amazon, Google and others.

 5 Reasons You Should Visit the National Aquarium in Washington, DCon 05/21/2013
 Confessions of a Customer Service Representativeon 05/05/2013
 Not So Great Gift Ideas for Valentine's Dayon 01/27/2013
 Last Minute Christmas Gift Ideason 12/15/2012

Comments
I've noticed if you peel them when they are a little warm, it works better. Of course, that won't work for dyed eggs. I also tend to overboil mine, so maybe that helps, too. Thanks for dropping by!
Great directions. My kids love dying Easter eggs this way. I follow the same procedure as you except never used vinegar, just didn't know. Have you found eggs seem to be harder and harder to peel? I wonder if the demand for eggs is creating thinner egg shells making them harder to peel. If you have any tips on making eggs easier to peel I'd appreciate a tutorial on that as well. Thanks
The ugly egg is usually the most fun. Since it is ugly anyway, you can really experiment with it. Thanks for visiting my page!
Interesting article and some great tips - especially as far as the ugly egg goes! :-)
bobsimpson - I was so excited to see you on here! Thanks so much for the comment. That is so true... it is only the water that boils. :-)
Anamika - You should definitely give it a try sometime. Thanks for visiting my article.
Angel - This is a fun activity even for adults. I did not make too much of a mess when I wrote this and took the photos. Thank goodness since I did not put down newspapers. Thanks for dropping by!
I love doing this with my children. We usually make a big mess. Almost that time of year!!
Never done this before. But it looks like fun. Awesome article!
Welcome to Wizzley. Our stock just went up. While it is true that a watched pot never boils, the water inside the pot often does.
I am happy to help. Maybe vinegar would have helped the tablets dissolve quicker when I did this. Although I haven't had problems in the past. I think I am just impatient. :-) Thanks for checking out my article!
You just gave me an idea for a craft project I'm doing. All of the kits say to put in vinegar. I thought it was to set the dye. Good article.