The first step is to get your fondant out and add orange food coloring to it. Simply add a couple of drops and knead it in, then add more until you have the orange you want (hopefully a match to the orange icing in the can).
Roll out your orange fondant and cut out some circles – this will be making the face of the spider so I would go for a 2 ½ in round cookie cutter.
Leave the fondant to fully dry out and harden. I would make this in the evening and then put the cupcakes together the following day, but that’s because we live in a humid climate without air conditioning!
The next step is to place the stencil of the face over the orange fondant and use your black icing decorator pen or black food coloring to put the face onto the fondant.
If you’re using black food coloring then get a paint brush (that you only use for cake decorating), pour some black food coloring into a saucer and paint it over the stencil – the effect is rather like a water color so it doesn’t pop as much as if you use black icing.
Using a black icing decorator pen you need to basically fill in the stencil – now if you’ve got one of these cool pens you could also try and draw the face free style instead.
Now to the cake – use the star nozzle that comes with the cans and ice a couple of rows the orange across the cupcake, then a couple of rows of the black etc until you have a striped cupcake.
Cut the licorice twists into 1 ½ inch lengths and attach.
Next you have to attach the fondant to the front of the cupcakes, I would be attaching the legs and face to the cupcakes when they were already on the serving plates so that neither legs or face will fall off before everyone has seen these cute little spiders!

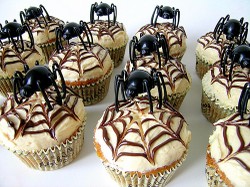
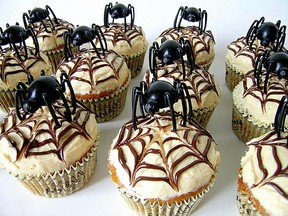


Are You Ready To Make Some Spider Cupcakes?
janices7Feb 17, 2012
ForestBearAug 14, 2011
mivvyJul 23, 2011
GuestJun 17, 2011