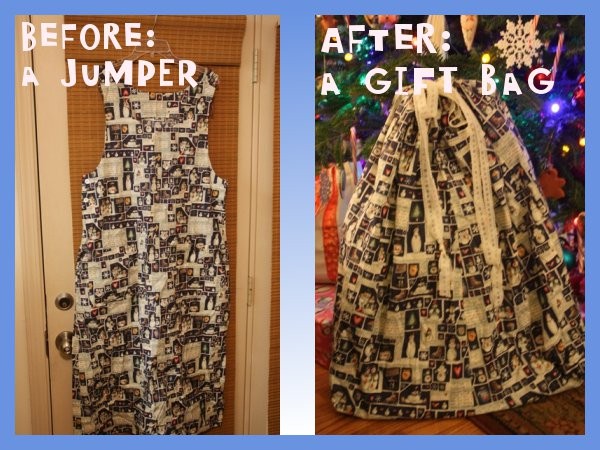
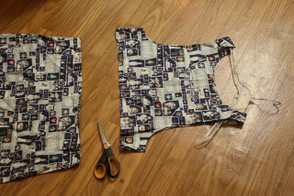
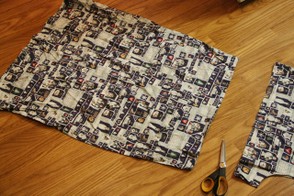
These are the steps I took to transform my jumper bottom into a gift bag.
1. Sew the bottom.
Turning the skirt inside out, I sewed along the bottom hem, closing up the bottom of the bag.
2. Square the bottom.
Laying my seam flat, I sewed across it at a 90° angle to form corners at the bottom of my bag. (This step is optional.) See more details at this square bottom bag tutorial.
3. Iron a casing.
Along the top raw edge, turn under ¼ inch and press. Then turn under again about ¾ to 1 inch. Press.
4. Make two buttonholes on right side of casing.
Looking at the right side, mark spots for two buttonholes on the casing. Place them on each side of the bag just in front of (or behind) the side seam of the former skirt. Make the buttonholes through only one layer of fabric, not through the entire casing.
5. Sew down the casing.
Once the buttonholes are made and cut out, sew close to the edge of the casing you created.
6. Thread two drawstrings.
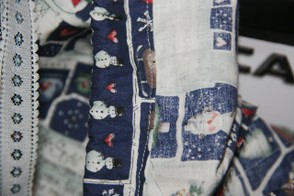
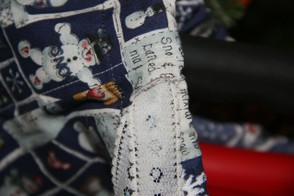
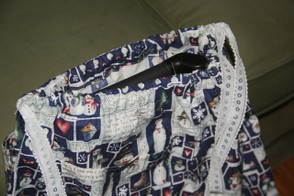
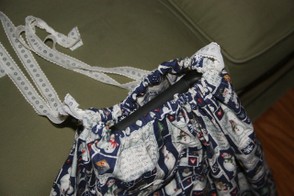
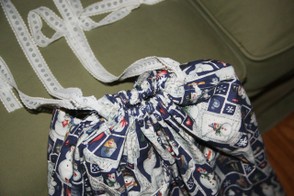
Measure two drawstrings long enough to go around the entire top of the casing. You can use whatever you have in your sewing stash -- lengths of ribbon, cording, webbing, or lace. Attach a large safety pin to the end of one drawstring. Using the saftey pin to maneuver, put the drawstring into one buttonhole and all the way around the casing back out the same buttonhole. Tie the ends together. Do the same procedure for the second drawstring, going in and out of the other buttonhole. When you finish, the two drawstrings should be opposite each other. When you pull on them, the bag opening contracts and finally closes. (See the photos below for the drawstring action.)






 Unique Uses for an Over the Door Shoe Organizeron 01/27/2012
 How to Get Pinned at Pintereston 01/27/2012
 Top Five Field Trip Destinations in Memphis, Tennesseeon 01/26/2012
 Maya Angelou Poet Studyon 01/22/2012


Comments
This is brilliant. Use an old skirt or dress,in a similar way, to make a bookbag for your primary school kids to carry their books in.
Good idea, Jimmie. Now I wonder how your mother will reuse that bag. Laundry bag?
Great tip. I have a hard time throwing things away - they have to be re-used in another project or at least given to charity. Great to make your own gift bags at this time of year too.