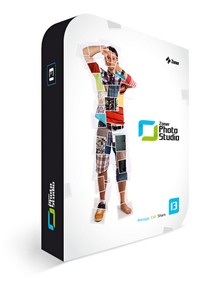
I use Zoner Photo Studio quite a lot to sort out my 'bads'.
Anyone may download a trial version of what I think is one of the best programs for Photographic Enhancement on the market.
The Pro Version is $69.99 with the option to extend to Three Home Computers for an additional $29.99 or $99.98. There is also a single license Home edition for $44.99.
The Zoner Suite includes a variety of functions but I will only concentrate on two or three of them.
This is a Screenshot of the Edit Page and one may see the functions at the right. Obviously too small to read here. So have a look at the Images Module later on.
The functions I use the most are those that align the contents. When one is taking photographs of, for example, Zoos and Aviaries it is beneficial to take a snap of the sigh that details the animal or bird within. The same applies for directional signs; windows that strike one's fancy and a host of other signs. It seems though that whenever one wants to take the snap the sign has been erected either to catch the eye and is positioned accordingly or that the sun makes a bright spot on the photograph. The other snag I have found in England is that it is often so dull that your flash is required and therefore reflected. So what many people seem to do is take the photograph at an angle. The same can apply to Awards and Certificates etc.

This first example was kindly sent to me by a talented Japanese Amateur Photographer Haruna Leong who lives in Okinawa.
This is the 'Before' Photograph.

After 'tweaking' this is what it now looks like.
However note that the flash reflection still remains.
The Japanese writing states that Haruna Leong came third in the Photographic Competition for Spring Summer during 2011 in the Categories ~ Babies and Childrens.
I have seen a lot of Haruna San's work and if she was only third then the Winner and Runner-up must be really amazing!
This function is obviously of great value to Travel Writers and the Amateur as well as the Professional may enhance their own experience quite economically.
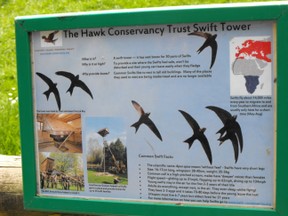
This is a Description of a Swift Tower at the Hawk Conservancy. It was taken this way to avoid reflection in the glass. Note that the entire frame is not in the photo.
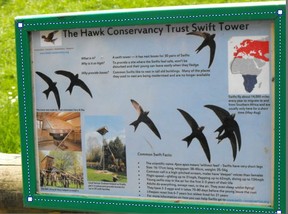
We now start the 'Tweaking' using the Perspective Function,
A square appears in the centre of the photo. The corners of this square are lined up with the area that needs to be aligned.
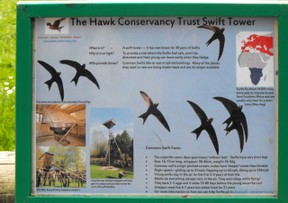
Press the 'Apply' button and Voila! It corrects the sign.
Note the green border at the bottom is narrower than the other sides.
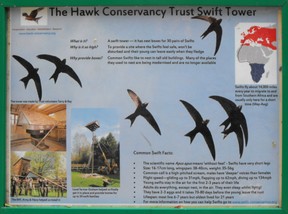
The Result ~ all nicely aligned.
I think that you will agree that this is far better to add to an album than the first photograph. Note that I cropped this ~ a very simple process ~ to make the borders equal.
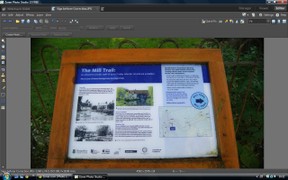
This a photograph of the instructions for the Mill Trail at Whitchurch in Hampshire in England. It started out as a fine day but as the day progressed so it bacame darker and wetter. This sign was at the end of the Trail that we took. Another one was at the beginning. Should you wish to see my record of that walk in photographs please visit A Walk Around Whitchurch
I had to take this photograph at this angle for the glass reflected the Flash and without using a flash it was too dark.
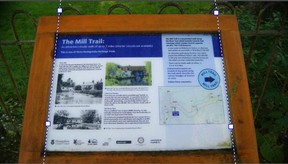
To correct this photo I used the Collinearity Function.
Note the two dotted lines. Simply align them with the edges you wish to Tweak and then Press 'Apply'.
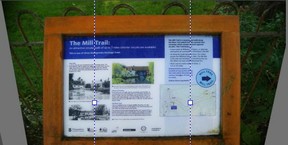
Voila! The sign lines up though the background looks a bit weird.
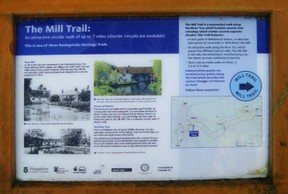
After cropping the sign looks quite reasonable, does it not? A useful function.
If you are a keen photographer then this is cheap alternative to Photoshop and well worth looking at. I find it very user friendly.
I would love to hear not only what you think of my page but, more importantly, what you think of Zoner Photo Studio as compared to other enhancement programs.
RalpapajanFeb 4, 2013
TolovajFeb 4, 2013
RalpapajanNov 22, 2011
BarbRadNov 22, 2011
ohcarolineNov 21, 2011
PennyNov 18, 2011