In the following segments we will take a look at how to braid paracord with four strands to form three distinct patterns. Braiding paracord is not only easy, but also a must know!
Any paracord crafter should know how to braid and i will show you why in the following segments, where you can get a sneak peak at the finished products!
Enjoy my page and i hope you learn as much as you can.

Braiding paracord the easy way
by Markwell
This page will show you how to braid paracord. Braiding paracord has many uses, from making bracelets and necklaces to leashes for your puppy! Learn how to braid with this page!
Types of paracord braids
Some basic information
Braiding patterns differ a lot when braiding. The most common way to make a braid is to use four strands. This is achieved in using two cords of paracord, which are split in half and braided into an item of your choice.
I have identified three simple and effective, as well as beautiful ways of making braids, i will show you how to make all three, two with a video tutorial and one with a photo step by step guide.
Enjoy!
All pictures on the page are my work, but you are free to use them your websites as long as you attribute them to paracordcentral.org
For more information on making things out of paracord, visit my paracord projects and crafting ideas page!
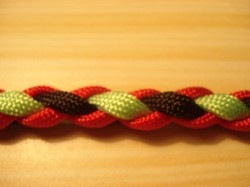
Paracord braid examples
Three examples of various pattern techniques
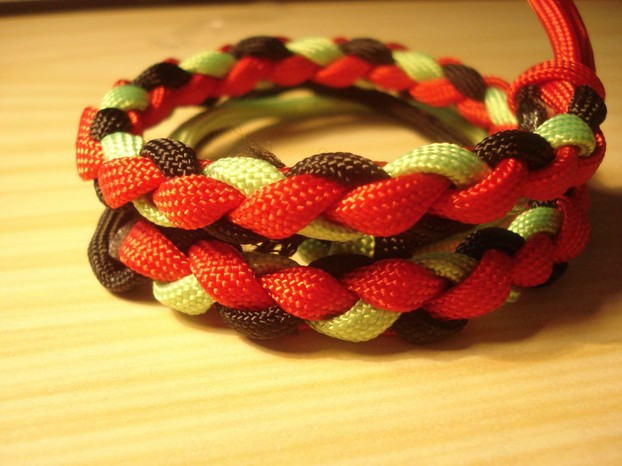 Paracord three color braid | 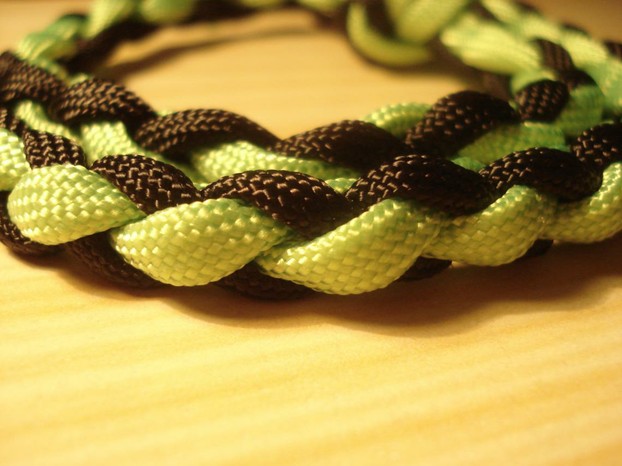 Paracord braid |
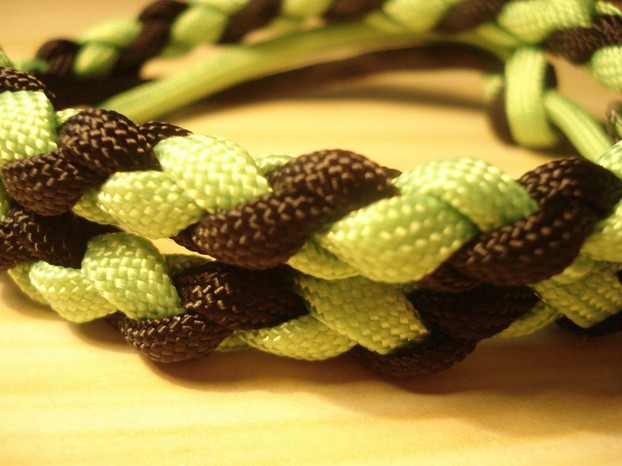 Spiral paracord braid |
Get my book
If you are interested in the paracord crafts, you might enjoy my book on paracord bracelets
 | Paracord bracelet instructions: Popular bracelets explained A simple name for a simple book. Paracord bracelet instructions is a book designed to give you the paracord bracelet designs you need as the base upon which you can build. The b... |
How to make paracord braids
Supplies and basic technique
Supplies
For making a paracord braid you will need:
- paracord 550
- a lighter or something to melt the cord ends
- something to hook your braid on so it does not move (a jig, a nail, a door knob)
Basic technique
The basic technique for making braids is to choose two strings, half them and make a knot at that place. That is your beginning, top of the braid. After making a knot you braid paracord by using the technique shown on the video below. Basically what you do is split a cord in half then alternating colors and splitting your precious color with the new one. Believe me it is easier to watch the video than explaining it through text.
Important tips
- firmly tighten your knots. That way the braid will have a consistent look.
- when tightening knots, make sure you pull on all four strands to make a knot.
- be careful when you are melting the cord edges. You do not want to hurt yourself or your house.
- braiding process is easy, but making quality knots will take a bit of practice. Keep at it until you are satisfied!
The basic video
This video will show you two main ways of braiding paracord
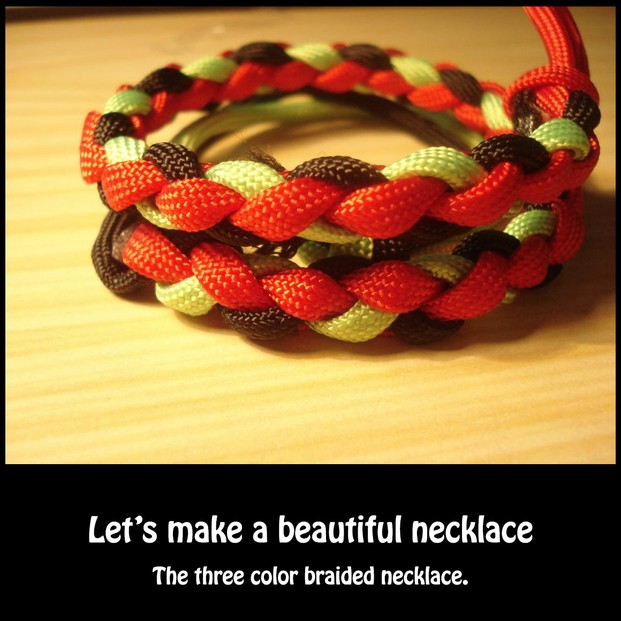
The three color braid
A tutorial
If you watched the video on braiding paracord, then you already know the patterns for making the basic braid and the spiral braid. But what about the three color braid?
Well the three color braid is an evolution of the classic braid, but by melting two half sized cords into a single cord we gain an additional color.
The braiding pattern is the same as making a basic braid. Just in case you need a visual aid (which always comes in handy when doing crafts) i have made a step by step photo guide, which you can take a look at below.
Enjoy it and remember to tighten your braid firmly!
How to make a three color braid
The other two techniques are shown on the video.
 Paracord braids | 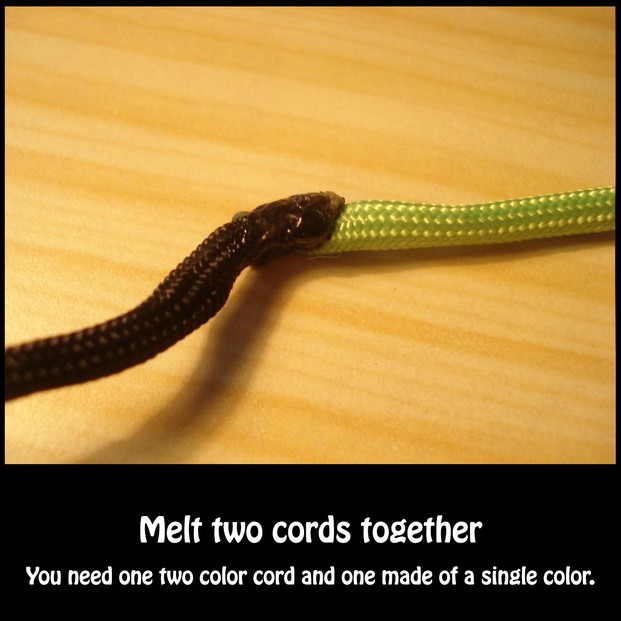 Melting the cords |
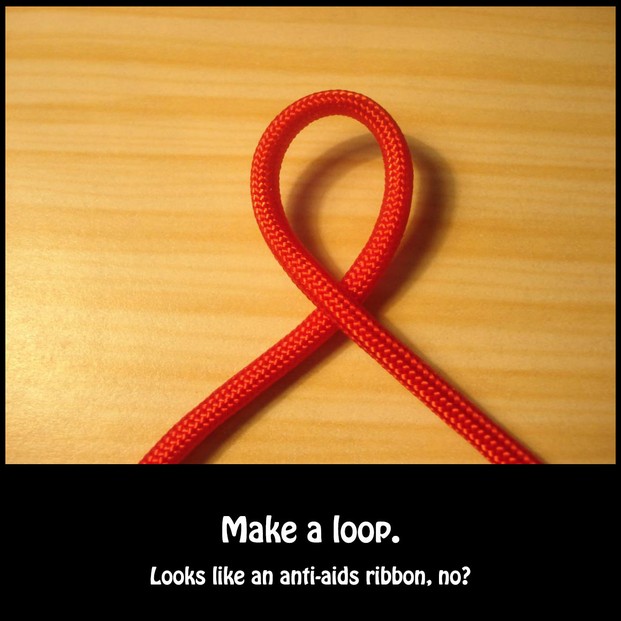 Making a loop |  Placing the other cord next to it |
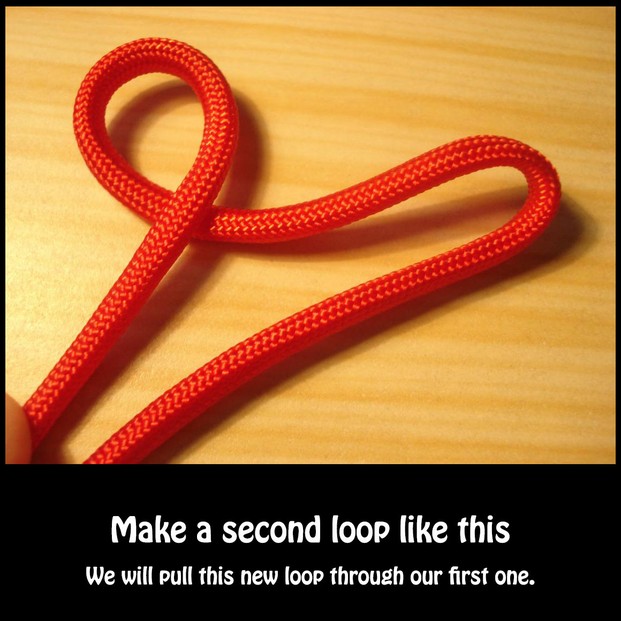 Making another loop | 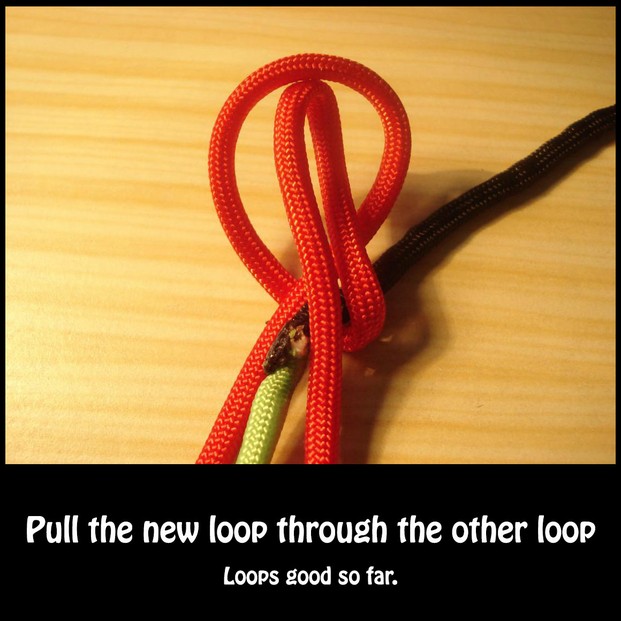 Pulling the loop through |
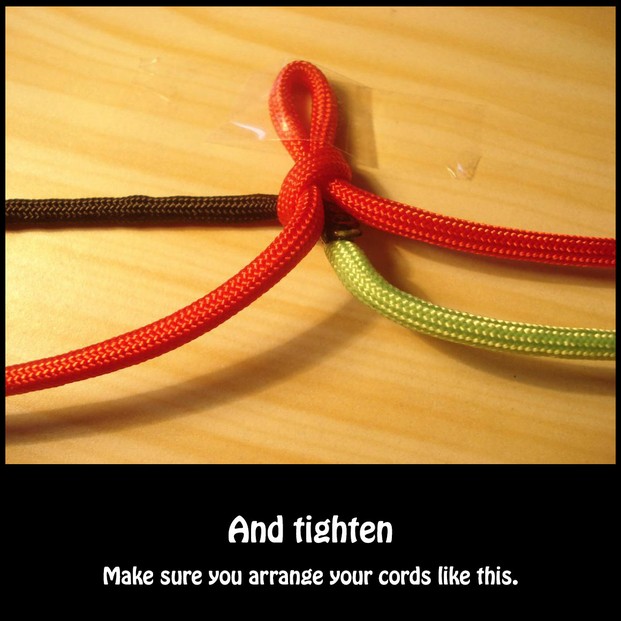 Tightening the knot | 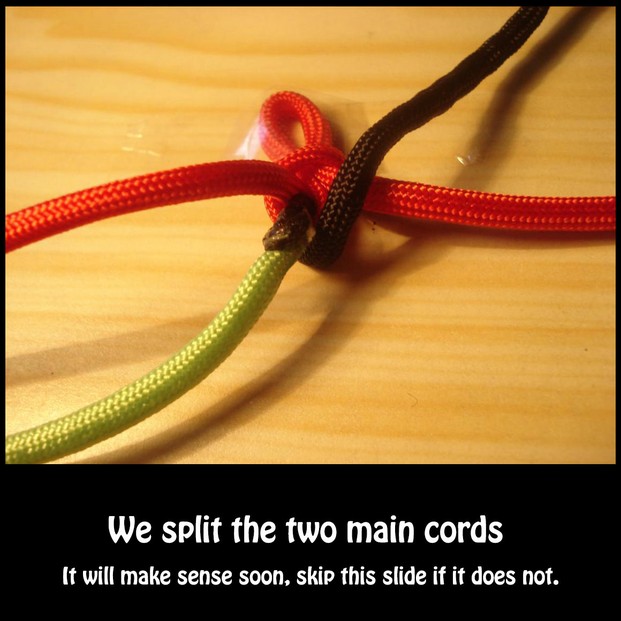 Starting the braid, alternating the c... |
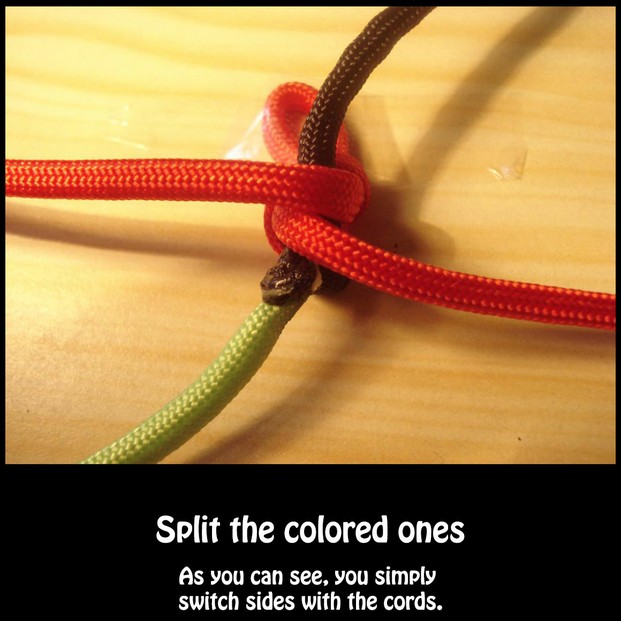 Splitting the cords in half | 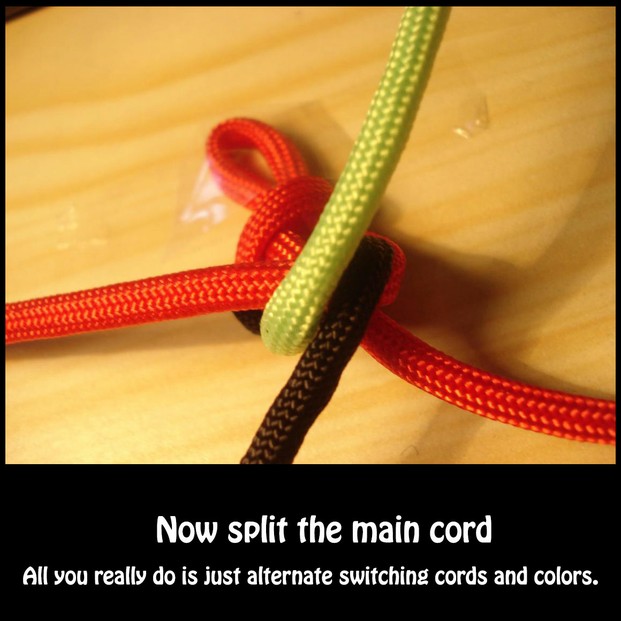 And again |
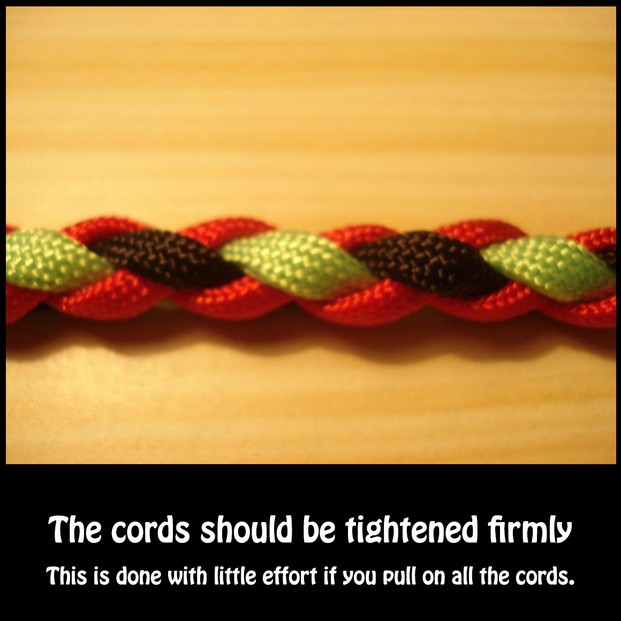 Keep your knots consistent | 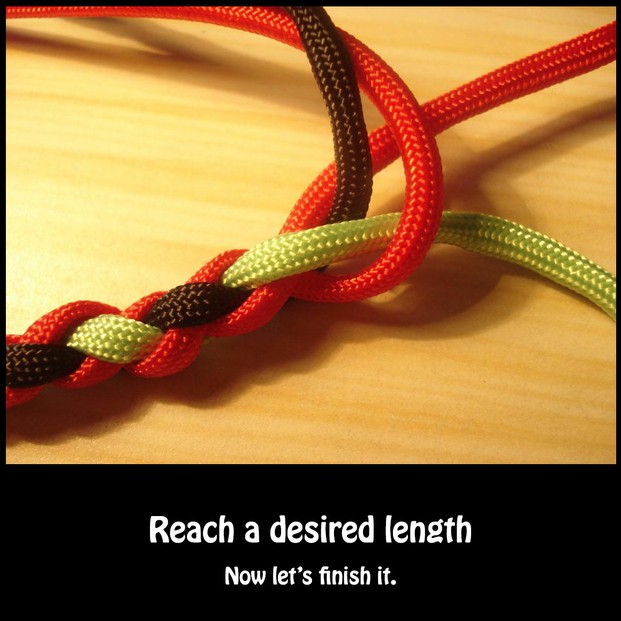 Reach a desired length |
 Snip the main cord ends |  Melt the ends together |
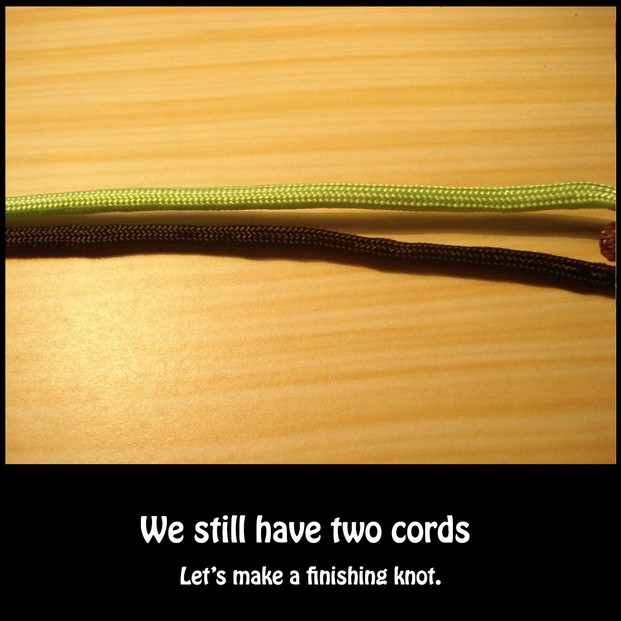 Lets make a knot on the last two cords | 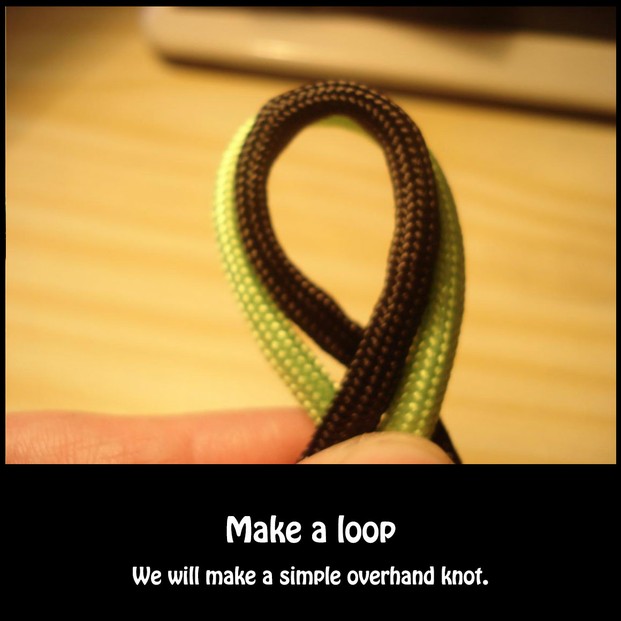 Make a loop |
 Pull the cord ends through the loop | 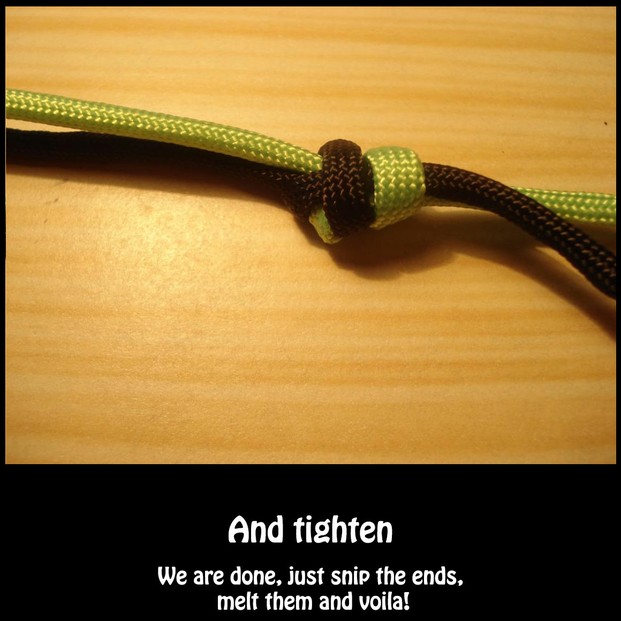 Tighten the knot |
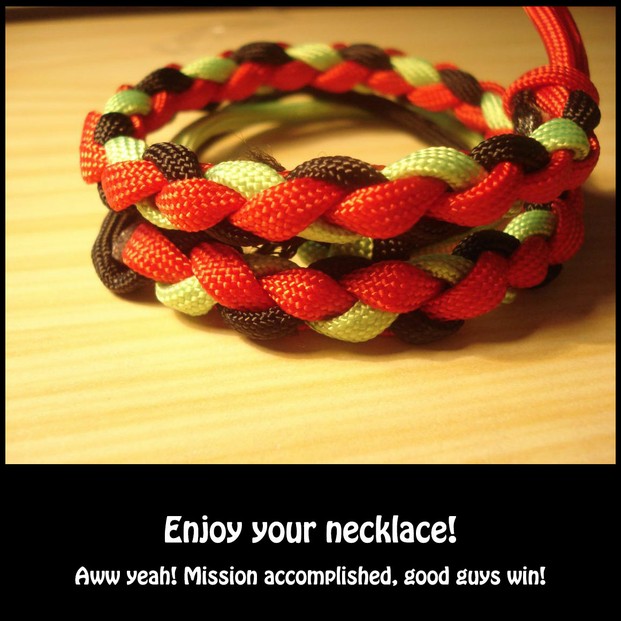 Enjoy the braid you made! |
The end!
I hope you learned all three patterns!
I hope you have now mastered paracord braiding and can use it to great effect on your next paracord project!
Let me know if you like the tutorial and share it with friends if you did!
A poll to wrap things up!
A poll to see which is the most popular braid!
Get the best book on paracord knotting
Paracord fusion ties, the best book on knotting with the use of paracord
 | Paracord Fusion Ties - Volume 1: Straps, Slip Knots, Falls, Bars, and Bundles J.D. Lenzen is the creator of the highly acclaimed YouTube channel ''Tying It All Together'', and the producer of over 200 instructional videos. He's been formally recognized by... |
Updated: 06/17/2014, Markwell
You might also like
Metal Clay: Information and TutorialsAre you new to metal clay? Metal clay is a clay form of precious metal that ...
Make a Washer NecklaceA DIY washer necklace tutorial using objects found around your home.
Disclosure: This page generates income for authors based on affiliate relationships with our partners, including Amazon, Google and others.

 Paracord zipper pull instructionson 02/13/2014
 How to make a cross out of paracordon 12/24/2013
 Making a paracord braceleton 12/16/2013
 Learn how to make a paracord keychainon 07/21/2013
Comments
This is a really helpful tutorial.