Often, we want a special piece of jewelry, or a specific color for a specific occasion, but we can never seem to find exactly what we want and often find ourselves 'settling' for what is there. Now you can become an expert at making your own with just a few easy steps. Memory wire is the key to making beautiful jewelry without all the fuss, hard work, or expense.

How to use memory wire to create jewelry
by cherylone
Making your own jewelry with memory wire is as easy as 1-2-3. Get the look, the style, the color and the flash YOU want by making it yourself.
What is memory wire?
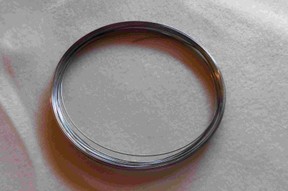
Memory wire is a wire that has been fashioned to remain circular. You can use memory wire to make necklaces, bracelets, and even earrings if you wish. Memory wire comes in two sizes-one for necklaces (shown here) and one for bracelets. Memory wire does not need a clasp or hook to keep it in place since it holds its shape even when you put beads and such on it. Below is a step by step guide to making a necklace using memory wire. You can adapt these instructions to make almost anything with memory wire because it is so versatile. Read on and get creative.
Please note: in these instructions I have kept the beads on my memory wire by twirling the wire into a loop at the end--you can also add a clasp if you desire or glue an end cap bead to the end of your wire. I personally like the twirl method and use that with most of my memory wire creations.
You will need to gather a few things before you actually begin.
Gathering your equipment and supplies is extremely important when making jewelry.
You need to gather your equipment and supplies together so that you don’t have to go looking for something before you finish. I noted where I purchased my supplies, but you can go anywhere you wish for them. For this necklace I needed the following equipment. I put pictures below so you can see what they look like.
- Wire cutters
- Memory wire for necklaces-I used Beadalon 1 oz silver purchased from Michael’s Craft Store-cut into a single 28 inch piece. This will give you a bit of wiggle room for the bending and such--if you need to, you can make it larger or smaller by simply cutting a larger or smaller piece. Try measuring the neck area and then making the wire 2 times larger. This will give you plenty of wiggle room.
- Size #8 silver-lined glass beads-sometimes they come in a tube or a box of about 200-I used Delica brand from Fire Mountain Gems because I can buy in bulk. Be aware that the LARGER the number size of the bead the SMALLER the bead
- 34 silver spacers about 1/2 centimeter in length-I used Blue Moon Silver Spacers that I purchased from Walmart
- 24 oval hematite beads about 1/2 centimeter in length-I purchased mine from Fire Mountain Gems in bulk.
- Two larger hematite beads added towards the end of the necklace creation to keep the beads from slipping through the butterfly loop-I measured them against the loop to see if they would hold and they did
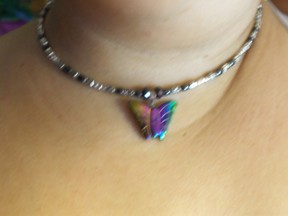
- A focal bead (the focal point of a necklace is the center of the necklace-it could be a bead, a flower, or even just a fancy embellishment)-I used a hematite pearlescent butterfly from Fire Mountain Gems
- Round-nosed pliers (pliers with rounded tips rather than flat tips)
- Long-nosed pliers (pliers with a flat tip that gradually grows smaller)
- Beading glue-I used Beadalon Bead Stringing Glue that I purchased from Walmart
- A beading mat and/or tray-I purchased mine from Walmart--this keeps the beads from rolling around too much.
- Bead holders (optional)
Tools for making memory wire jewelry
 Cutting Pliers | 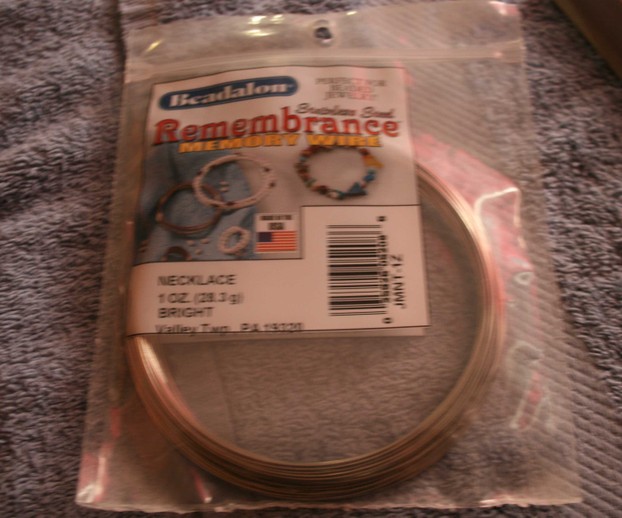 Memory Wire | 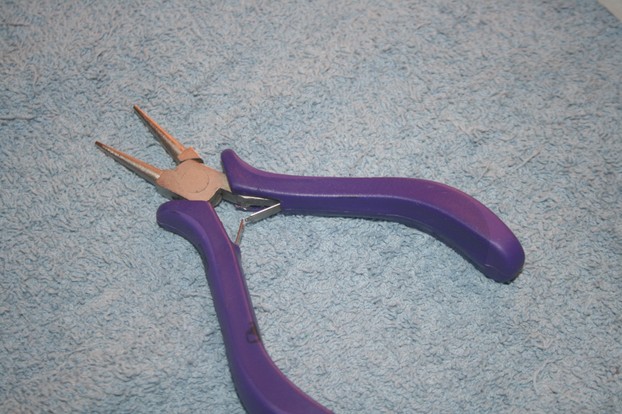 Round-nosed Pliers | 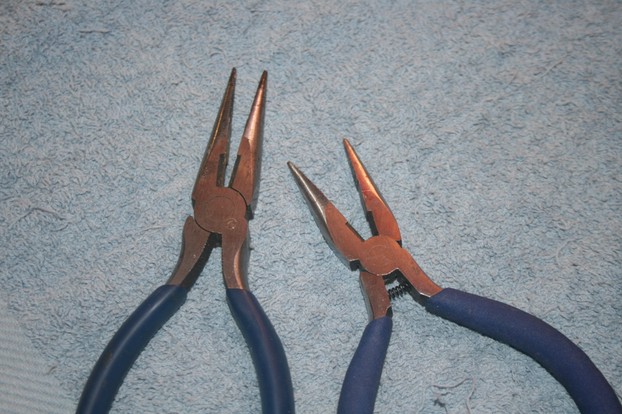 Needle-nosed Pliers |
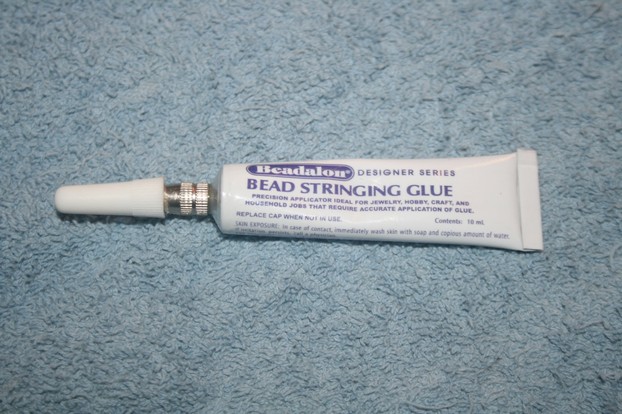 Beading Glue | 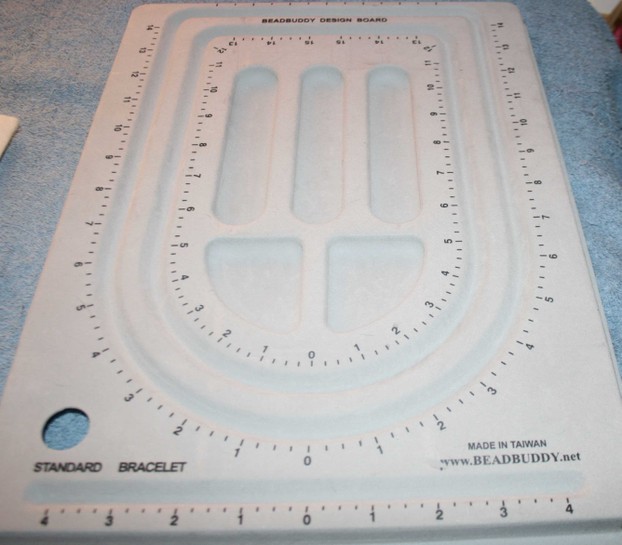 Beading board |  Beading mat | 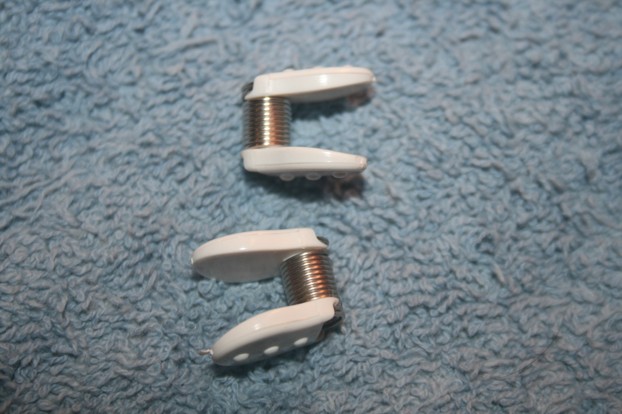 Bead Holders |
The beads and spacers I used.
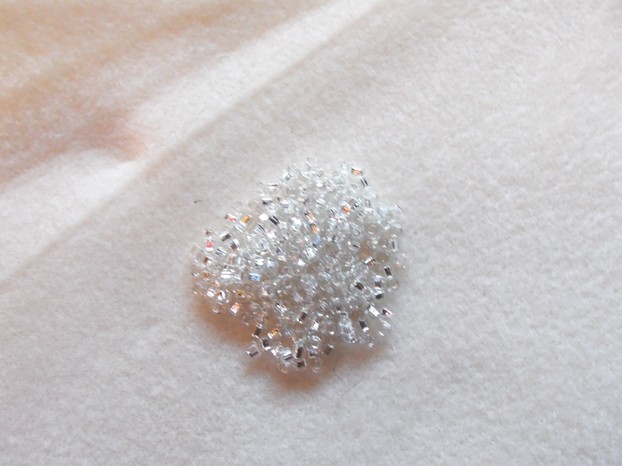 Silver-lined ... |  Silver spacers | 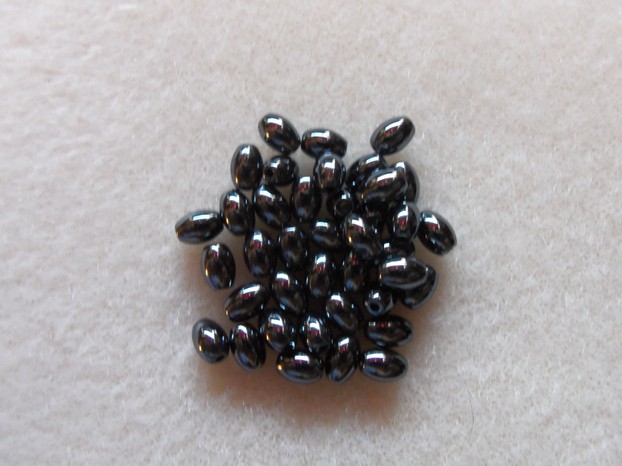 Hematite beads | 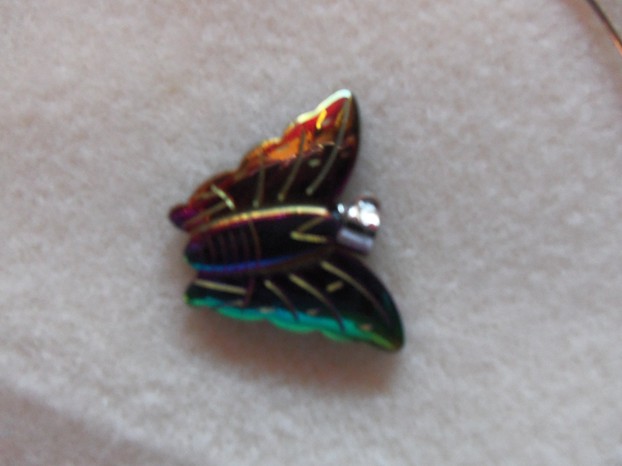 Butterfly | 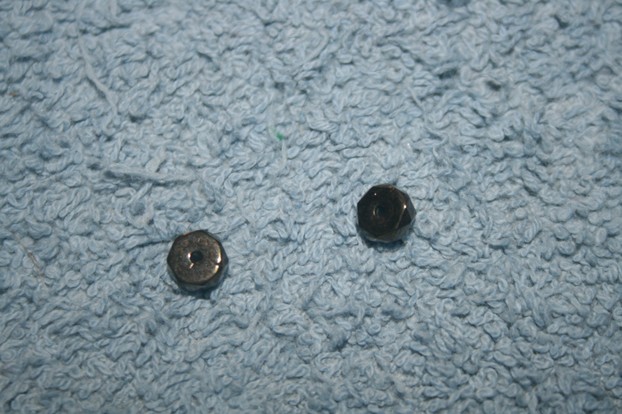 Two hematite ... |
How to wrap the end of memory wire-this is done to prevent the beads from falling off.
Please note: you will have a few extra loops when you finish off the necklace because it is easier to wrap if you have a little 'wiggle' room. For this reason, I often make two loops here.
Once you have gathered all of your supplies together, you can begin your project.
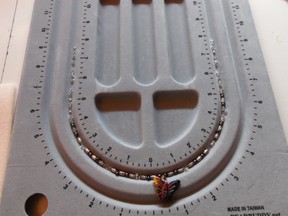
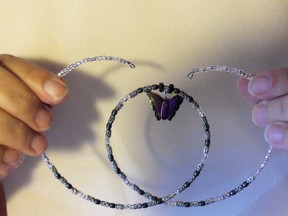
The first thing you have to do is cut your wire and then twirl one end so that your beads will not fall off (see video). Next, you need to lay out your beads in the pattern you would like to use. You can do this in the tray (as pictured here) or on your beading mat. I find the tray works best for my initial design because then the beads stay in the pattern as I bead and all I have to do is remove them in order. NOTE: do not try to place the beads on the wire in the tray because the wire is memory wire and will simply spring back to a circle. This can toss your beads about and cause you to lose some of them (not to mention the frustration of having to gather them back up again).
 Once your pattern is laid out, you need to begin placing your beads on the wire in the order of your pattern. I put 50 silver-lined beads first to allow me to keep my fancy beads and pattern towards the front of the necklace and a simple beading pattern towards the back. Once you have fed your first few beads onto the wire and moved them down to the end, place a drop of glue on the wire just before the loop and then push the beads over the drop of glue. Allow this to sit for a few minutes until the glue sets. Then feed the remaining beads on your wire in the pattern you have created until you have reached your focal bead (or the center section).
Once you have reached the focal point of your necklace, you need to check to be sure it looks good.
Apply a Bead Holder or use your fingers to hold the beads in place.

To apply the Bead Holder--Squeeze the two white handles together to spread out the spring that is in between them. Slip the spring onto your memory wire and let it go. It should remain in place and hold your beads.
To check your necklace--Carefully set the necklace around your own neck keeping the focal in the center (use a beading holder or your fingers) and look in a mirror.
- Check to see if the pattern looks good-because you haven’t finished yet, it will be easy to change the pattern and begin again by removing and reworking the beads
- Check to see if the focal bead is in the center when you place the twirled end at the center of the back of your neck-if it is not you will need to remove or add beads to put it there. Of course, if you want the necklace to wrap a bit more around the neck for extra support, this is fine, just make sure both sides will match
- Check to see if the beads are uneven or don’t seem to fit together-for example: some beads may be larger than others and the smaller ones may slip into the larger ones so that they no longer show. To fix this, place gradual sizes between the large and small beads, or you can be tricky and simply put on more beads so that there is a line under the bead and you can still see the number of beads you wanted for your pattern-be careful with this however because the larger bead might move from one end to the other of your line of small beads--also, if you look closely at my necklace in the final step, I ended up using two larger hematite beads to keep the smaller spacers and beads from slipping through the loop of the butterfly
- Check to see if the beads you have chosen are too bright or large for your focal bead (or piece); if this is so, you might want to rework your pattern because the focal section is exactly what its name suggests--it is the focal point of the necklace
Once all of the above items have been checked and you are satisfied with the necklace to this point, continue to feed the beads onto the necklace, but be certain that you put the same number and pattern on this side as you did on the first side or your necklace will appear awkward or mismatched.
Once all the beads are on the memory wire it should be checked again before you finish it.
Carefully take the necklace to the mirror one more time and place it on your neck (be sure to keep a bead holder or fingers on the end so you don't lose any beads).
- Does the necklace fit nicely around the neck area?
- Does the necklace sit nicely (or are there beads that poke up or don’t sit right)?
- Is the necklace attractive?
- Is the necklace even?
- Are you happy with the necklace?
If you answered ‘yes’ to all of the questions above, then we can move on to the last few steps. If there was a ‘no’ in there somewhere, you will have to remove some of the beads and fix the problem before moving on to the finishing steps. Be careful with this step--if you have to remove the beads, carefully remove them one at a time and be sure to place them back in your tray in the order you removed them so yo know how to put them back on the wire.
Please note: memory wire will snap back if you let it go so be careful when removing or adding your beads.
Now on to the finishing steps
This is the hardest part of the whole necklace, but don't give up, you can do it!
This really is the hardest part of the necklace because the beads want to come off the wire as you work, but with a little practice you can do it rather quickly. First, measure the wire from the last bead and cut off any excess leaving about a 1/4” - 1/2” remaining. Take your round nosed pliers and carefully twist the wire around the very tip (like you did for the first end). Once you have made your first loop continue to wrap the wire around the tip until you reach the beads. Check to be sure the beads are tight enough (or loose enough depending on the pattern) and then finish the looping accordingly. Be careful not to make the necklace too tight or the focals might not sit correctly. Once you have made the final loop, place a tiny drop of glue in the very last bead to keep it secure. Finally, allow the necklace to dry overnight before presenting it or wrapping it up for gift giving.
eBay has memory wire
Once you have done a few of these you will be quite the expert.
 You can use any size beads as long as they will feed onto the wire. Smaller beads usually don’t work very well. But even pony beads and letter beads are good for this type of necklace making. And, without the cost of a clasp, they become more economical.
HINT: If you plan to make a lot of these necklaces, be sure to buy your beads in bulk because they will cost less. Also, match your colors before you buy to be sure the colors will go well together.
Silver is usually a good color to use for spacing and such since it goes with most everything. You can also use gold if you like (this might be hard to come by); however remember that gold memory wire is ‘gold coated’ and the coating might come off once the bending has been done.
So bead away and then WOW your family and friends with your creative beading abilities. They will be envious of your new-found ability--but don’t tell them how easy it was!
Updated: 12/19/2012, cherylone
You might also like
Kazuri Handmade Beads From KenyaCome see how beads are made by hand from purification of the clay to stringin...
Hobbit Sword Perler Bead PatternMake up Bilbo Baggin's magical little sword called Sting from the craft of fu...
Disclosure: This page generates income for authors based on affiliate relationships with our partners, including Amazon, Google and others.


 Fruit and vegetable juice or whole fruits and vegetables, which is better for youon 04/23/2013
 The Spriteon 11/27/2012
 How to keep your feline companions safe and content during the holiday seasonon 11/10/2012
 How to crochet an anklet with beadson 11/02/2012

I would love to hear from you!
Thanks we will enjoy beading it's always a good time.
katiem, I am glad you could use it. I make a lot of jewelry as well. Memory wire comes in two sizes so you can make bracelets as well. Happy beading!
My daughters and I enjoy making our own jewelry. I appreciate this helpful guide to using memory wire, sounds like a great option. Thanks :)K