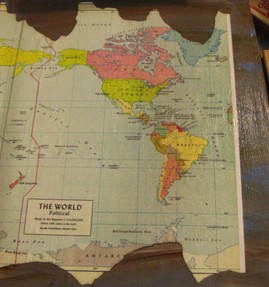
 Cut out the paper you want to use to decoupage onto the clipboard. Trim the edges, rip the paper for a more rustic, organic look, or carefully burn the edges like I did on the map I used. Be careful when burning the paper and do this over the sink or bathtub.
You can use any or all of these types of paper:
- napkins
- tissue paper
- maps
- book pages
- cereal boxes (or tissue boxes or pretty much any type of box)
- scrapbook paper
- calendars
- greeting cards
You get the idea. Almost any type of paper will work for decoupage crafts but remember these tips for preparing the paper:
- If you use something thin like tissue paper or napkins, apply the Mod Podge to the surface of the clipboard or other object then carefully set the paper on the surface.
- Separate heavy paper into thin layers, like a cereal box and just use the thin layer with the decorative picture or words. Discard the boring gray layers in the recycle bin.
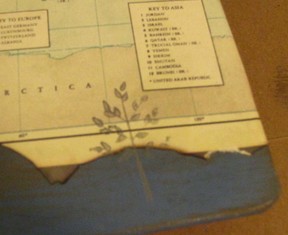 Apply the paper to the clipboard in whatever design appeals to you. Stamp any designs onto the paper at this point, if desired.
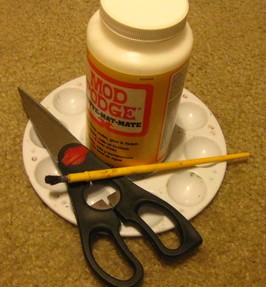
Add a coat of Mod Podge decoupage medium over top of the clipboard and paper covering the entire surface. Do the front then back (or the back then the front) but just be sure to let one side dry before working on the other unless you can prop it up so all sides can dry.
Experiment with the paintbrush. Use a foam brush for a nondescript finish. Use a bristle brush if you want lines in the finish. Dab on the medium holding the paintbrush straight up and down to give a stippled, textured look to your clipboard.
Apply at least two coats of Mod Podge, letting the coats dry before adding the next coat.


 Decoupage is one of the easiest crafts to learn because basically there are no rules. You can decorate just about any object and use any paper.
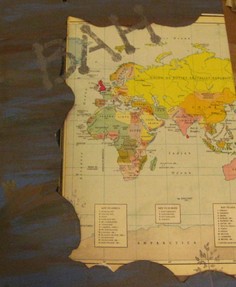
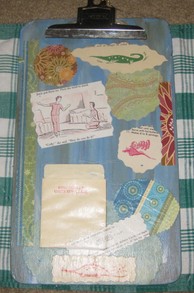


 A big part of the fun of decoupaging is deciding what you want your clipboard to look like when you're finished. If you're making it for yourself, decide how you'll use it.
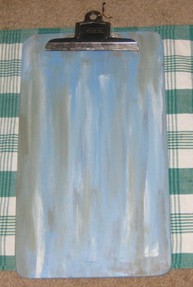
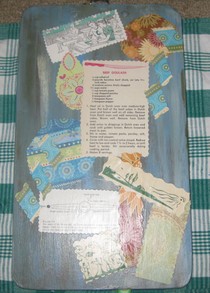


 Cut out the paper you want to use to decoupage onto the clipboard. Trim the edges, rip the paper for a more rustic, organic look, or carefully burn the edges like I did on the map I used. Be careful when burning the paper and do this over the sink or bathtub.
 Apply the paper to the clipboard in whatever design appeals to you. Stamp any designs onto the paper at this point, if desired.

 Homophones -- Words That Sound the Sameon 10/22/2014
 Erik Larson, Historical Nonfiction Authoron 10/16/2014
 Let a Digital Coin Bank Count Your Moneyon 07/23/2013
 National Geographic for Childrenon 05/25/2013

Comments
I love this idea, I love clip boards, I used to carry one around when I was a production supervisor of an air filtration company. I learned the value of having things at hand then and never gave up the clip board. They come in very handy with my article marketing work as I can take my clip board anywhere I go, working from my tablet, phone or the like. I love the decoupage art and will def be doing this with my daughters, nice gifts as well.
We love crafts. My friend showed us how to do decoupage, she makes lovely things.
Wonderfully creative!
Wow, I want to run out and buy modpodge right now! I love crafting.
Super idea. I've decoupaged other similar items, but never thought of clipboards. This is really neat.
Fantastic tutorial for something I'd love to do.
I love this idea! You've described how to do it really well. Thanks!
Great way to dress up something old and blah!