How to Make Stuffed Felt Hearts Tutorial

by Marie

A step by step photo tutorial on how you can make stuffed felt hearts with complete instructions and free printable template for sewing plush hanging felt and fabric ornaments.

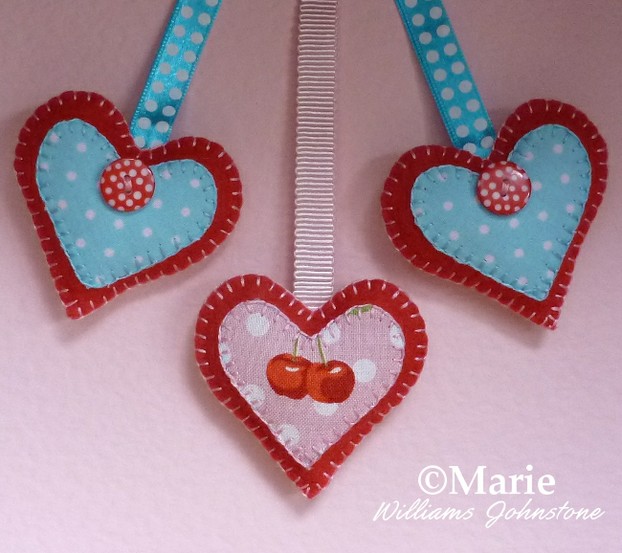
How do you make your own sweet stuffed hearts from felt? Here's some detailed step by step photo instructions showing you how to sew up some very cute love heart plush ornaments with scraps of felt and fabric. Free with this tutorial is a whole printable sheet of hearts in different sizes for you to use as templates. The finished little plushies make adorable little gifts which are ideal for Mother's Day and Valentine's Day too.

Make hanging handmade ornaments as shown on this page or use the little scraps of love to make your own scented sachets for drawers, small pincushions or little decorations for the home. Come and see how it is done.

Learn to Sew Sweet Heart Gifts

Plush Felt Heart Ornament

Hearts never go out of fashion. They are motifs that people love to use over and over again for various occasions of the year, and not just Valentine's Day since they also make ideal motifs for a loved one at all times of year: Mother's Day is a great example of an ideal time to craft a heart with love.

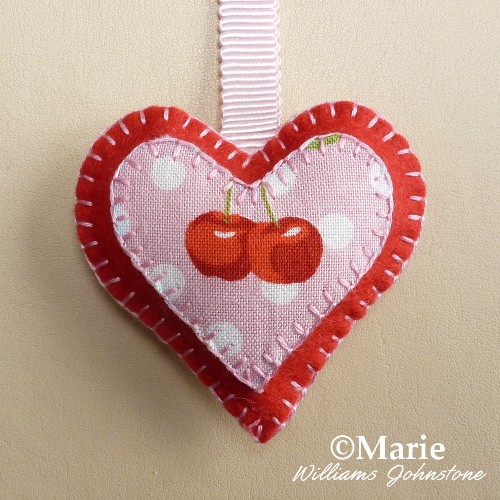
Today I'm going to show you how to make a stuffed plush heart ornament using felt and little scraps of patterned fabric. Add a loop of ribbon to make hanging ornament handmade gifts. Don't forget the hearts pattern further down the page.

Step 1: Sewing the Felt Heart Fronts

Step 1a
Step 1a
Step 1b
Step 1b
Step 1c
Step 1c

Step 1a: For this hanging decoration, I've chosen to use a pink felt back, a red felt front and a smaller heart nesting in the red piece made from patterned fabric. This is just a suggestion. You could make a heart out of the same color felt back and front, you can choose whether or not to use the smaller heart nestling inside the bigger one and you could use felt or fabric. There are lots of options.

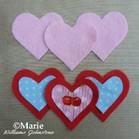
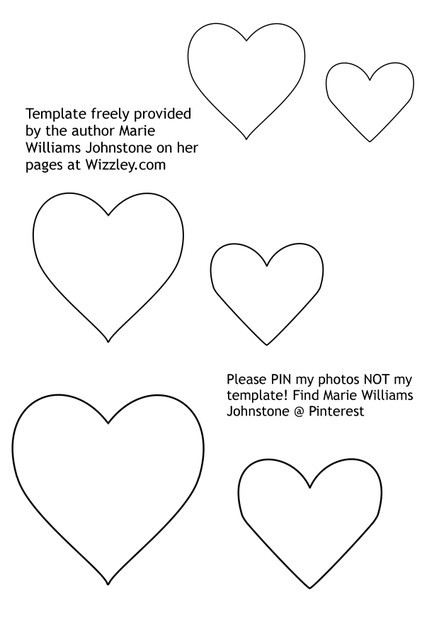
Use the free printable hearts template further down on this page to trace around 2 larger hearts onto some felt fabric for the front and the back and one smaller piece for the patterned fabric on the front. A fabric marker pen is a great tool for tracing out non-permanent designs onto felt and fabric. Here I've cut out enough pieces to make 3 ornaments.

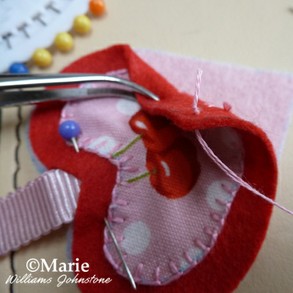
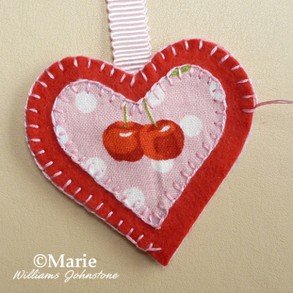
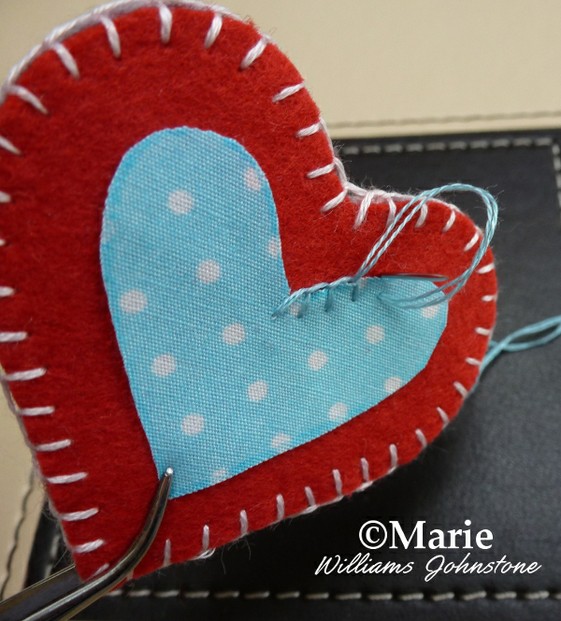
Step 1b: First you need to sew a smaller heart inside a bigger one to make the front of your plush. I've used a patterned cotton fabric for the smaller piece and because cotton frays, I'm using blanket stitch which is good for raw edgings.

Blanket stitch is also my favorite stitch and I use it a lot! You could use a different color felt for the smaller heart and use any stitch you like to sew it on.

Step 1c: This image shows all 3 finished front pieces which have got smaller fabric hearts stitched on top of larger felt ones. Don't be afraid to pick unusual color choices. Who says red and blue or red and pink won't work - they do here!

See How to Work Blanket Stitch on My Blog

Trace Designs onto Felt with a Water Soluable Fabric Pen
DMC U1539 Embroidery Transfer Pen, Blue

This embroidery transfer pen is used to create your own designs on a favorite item and stitch it for a unique fashion statement. Ideal for drawing or tracing any design on fabri...

$4.82  $4.8

View on Amazon

Step 2: Sewing on the Ribbon

Step 2a
Step 2a
Step 2b
Step 2b
Step 2c
Step 2c

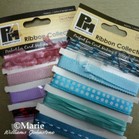
Step 2a: For making your felt heart into a hanging decoration intended for the Christmas tree, an ornament stand or to hang in your home, you need some ribbon, cord or twine. My preference is ribbon and I love the patterned ribbons that are used for scrapbooking and card-making because they tend to be the nicest of all.

Step 2b: You need a good looped length of ribbon, around 5 inches or so when folded in half. Some people sew their ribbons on the outside back of their felt ornaments - that is a big no-no for me since I like my finished items to look neat on both sides.

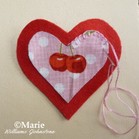
My tip is to sew the cut ends of your folded ribbon onto the back of your front heart piece in the middle, taking care not to sew through to the front while you're sewing it on.

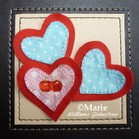
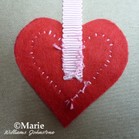
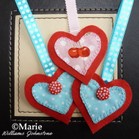
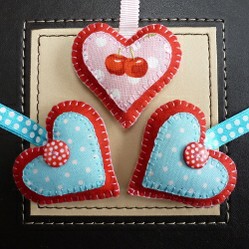
Step 2c: Here's my finished front pieces. You can see that on the red and blue hearts, I have added some button detail. If you sew on a button to the front with the ribbon held in place at the back, then the button once fixed in place keeps the ribbon attached.

Step 3: Sewing the Back and Front Together

Step 3a
Step 3a
Step 3b
Step 3b

Step 3a: Now it is time to sew the back on to your hanging heart decoration. I've chosen pink felt backs to contrast with the red front. The first image shows that I start sewing from the bottom tip of the heart.

I like to make sure the knotted thread goes through the back of the top piece only as I am fastidious on keeping my finished craft projects as neat as possible.

So for the knot to remain unseen, you need it to come through the back of your top piece of felt only.

Having Trouble Sewing Blanket Stitch Around the Ribbon?

Watch the 3rd section of this video below that shows you how to work blanket stitch around a flap. The exact same principle applies.

Step 3b: Line up the edges of the heart and start sewing around. I've used blanket stitch again because it happens to be the stitch I use the most.

You can use a simple overcast stitch or a straight stitch. It's best to use an embroidery stitch that you really are comfortable with since you'll do a better job.

Do NOT sew all the way around if you want to pad your heart ornament out to turn it into a plump  plushie. If you want to fill the ornament, then only sew just over half of the way around the edges.

Step 4: Filling the Hanging Heart Ornament

Step 4a
Step 4a
Step 4b
Step 4b
Step 4c
Step 4c

Step 4a: If you want a padded heart made with felt instead of a flat one, you'll need to use polyester fiber filling to plump it out. This is basically toy stuffing and people use it for making handmade soft toys, teddy bears and plushies.

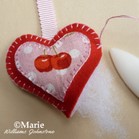
The polyester fiber is soft and wispy. Pull off a small piece and push it right into the top of your hand-stitched heart. I use a blunt ended card scorer to push it in, you could use the tips of some rounded scissors or the blunt end of a pencil.

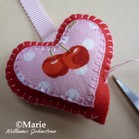
Step 4b: The trick with filling a handmade plush with stuffing is to do it slowly. Keep pushing in small amounts of stuffing into sewn up areas, then make a few more stitches, then stuff again. Repeat often until the whole item feels nicely padded and you can get no more in.

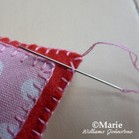
Step 4c: Sew up the last piece of your handmade felt heart. To finish off neatly, place the needle through to the back edge of your heart and make a small knot at the back. Please do share this via Facebook, Twitter, Pinterest etc. if you enjoyed it.

Polyester Fiber is Perfect for Making Stuffed Toys and Items
Fairfield Poly-Fil Premium Polyester Fiber, White, 1 Bag, 12-Ounce
Only $8.25

Completed Felt Heart Shaped Plushies

Here's My Finished Little Hanging Ornaments

Your Free Printable Hearts Template

Right-Click on the Image and Select View Image. When the Image opens, right-click again and choose 'Save Image As' to download to your computer
Heart Shapes Template for Felt Sewing
Full step-by-step color instructions for a super cute Mushroom Spool Pincushion which makes a magical home for your sewing pins. An easy toadstool project to sew and a cute gift.
Using Blanket Stitch to Make Cute Felt Hearts
Updated: 10/04/2017, Marie
 
Thank you! Would you like to post a comment now?
5

Is this a Craft You'd Like to Try?

Only logged-in users are allowed to comment. Login
Marie on 02/27/2017

Helen wrote to me and asked: I have just been reading one of your tutorials on stuffed hanging heart decorations. I'm really struggling with doing the blanket stitch around the ribbon in the dip of the heart. Is there are particular way to do it to keep the blanket stitch going? I'm really enjoying learning to sew and am getting neater but just can't seem to get this bit right.

I replied: Blanket stitch is not the easiest stitch when you are new to sewing - it does take some practice - and I agree that bit around the ribbon in the stuffed felt heart is the hardest area to sew.

It is pretty hard to explain things well with just words and photos so I hunted down a video on youtube (now added into the tutorial page here) that shows how blanket stitch is worked in 3 different ways: around an edge (which is mostly how you sew it around the heart to join the pieces,) as applique where you stitch a piece of fabric on top of a bigger piece and working around a flap of fabric.

This last section of the video is the bit you need to watch and practice for sewing around the ribbon area on the heart. I would practice on some spare fabric or felt until you are happy with all those techniques and then move from that to your hanging hearts.

CruiseReady on 11/04/2015

I'm thinking you could even make some of these pretty little hearts for your Christmas tree, too!

Marie on 11/02/2015

The ribbon is sewn onto the inside of the heart first behind where the button is so no stitches show at the front. Then two hearts are placed together and you start sewing round with blanket stitch - stuffing along the way - and the ribbon ends up in the middle of the two heart pieces.

I do stitch through the ribbon with the blanket stitch when sewing the two hearts together and the stitches just go right through the ribbon but carrying on along the edge of the felt. You could use another stitch if you prefer like running stitch if it makes it easier - you'd still stitch through the ribbon for that but it might be less fiddly :)

fiona on 11/01/2015

Hi - how do you do a blanket stitch around or through a wide ribbon as you have pictured? Thanks!

Marie on 08/21/2013

Hi Sheila :) Thank you so much. I am indeed still here on Wizzley - it is an important part of my online writing endeavors! I plan to gradually add more here too as time permits.

sheilamarie on 08/19/2013

Hi Marie, I don't know how I've missed so many of your recent wizzles! I've always looked forward to reading anything you write, but especially your tutorials, as you are so creative and explain things so well.
I'm glad to see you are still here on Wizzley, as I've missed you.

Marie on 04/25/2013

Hey, that's so lovely, Katie :) Thank you. I do have a lot of fun with crafts - just wish I had more time for it all.

katiem2 on 04/23/2013

adorable, I must say you are hands down the most talented arts and crafts go to person I know. You always bring us ideas and instructions to make something fun and impressive. :)K

Marie on 04/20/2013

Thanks, Brenda, for your visit. I have lots of crafty 'How To' articles to share once I get them written up :)

Marie on 04/20/2013

Thank you, Mira. I appreciate that since I had great fun making them :)


You might also like

Lots of Cute Boyfriend Valentine Gift Ideas 2019

Need inspiration on inexpensive and cute boyfriend Valentine gift ideas for 2...

Top Ten Romantic Comedies to Watch on Valentine's Day 2019

Here's the top ten romantic comedies to watch this Valentine's Day. Best movi...


Disclosure: This page generates income for authors based on affiliate relationships with our partners, including Amazon, Google and others.
Loading ...
Error!