How to Use Zazzle Bulk Image Uploader

by JoHarrington

Zazzle Bulk Image Uploader does precisely what it says on the packet. It's a quick way to add lots of pictures or designs, so that you can begin the process of making products.

I am indebted to Wizzley's leading Zazzle expert Dustytoes for alerting me to this software.

The Zazzle Uploader provides three ways to transfer files to your on-site image gallery. There's a right-click menu option, a drag and drop feature or the old-fashioned 'add images' function.

This program has been developed by the company itself, and it's promoted on all of their sites around the globe. It's a quick and easy way to get your raw files to the point where you can begin creating products.

An Introduction to Zazzle Uploader

There is a perfectly functional way to upload images directly to your seller's account on Zazzle. You don't need the bulk image uploader to begin making and selling products.

What this program offers are more options in the way that you transfer your raw files to the site.

My personal favorite addition is the ability to right-click an image (or design) and immediately send it to Zazzle.  However, I have attempted to be comprehensive on all of the ways at your disposal.

It will speed up the preparation part, so that you can concentrate all of your energies on making wonderful things for your store.

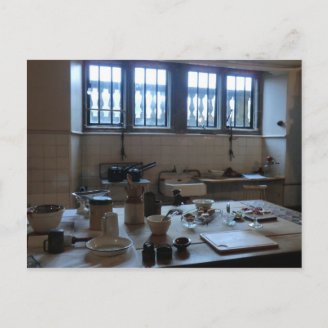
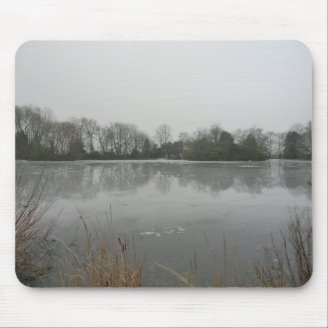
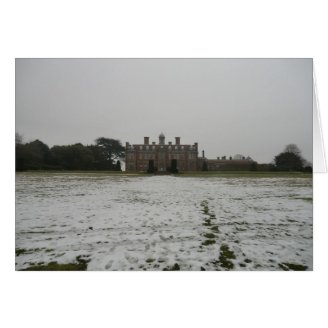
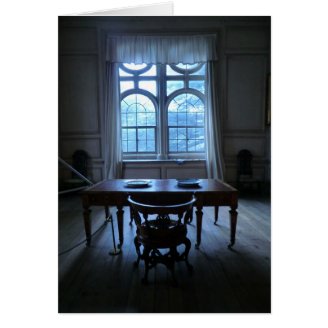
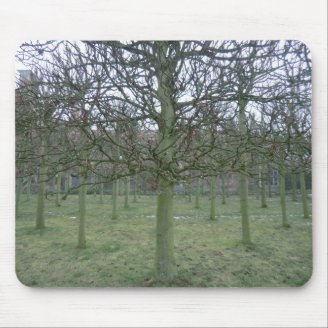
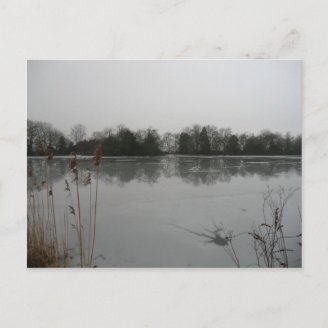
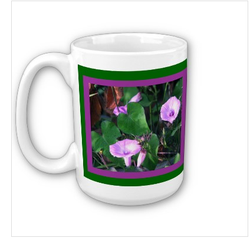
And talking about stores, mine is Beautiful Britain.  I'm going to be adding examples of my products throughout this article.  The images that they are based upon were all uploaded during the course of this tutorial.

Enjoy!

How to Find the Zazzle Bulk Image Uploader

Zazzle (Australia)

Zazzle (Canada)

Zazzle (Japan)

Zazzle (UK)

Zazzle (US)

Spec for Zazzle's Bulk Image Uploader

Current version: 1.0.4.4884
Windows XP or later
1MB disk space
20MB memory
Network connection to zazzle.com

How to Download the Zazzle Bulk Uploader

The process appears very intuitive and easy to follow, but I'm going to walk you through it anyway.

  • Find your Zazzle store from the list above.
  • Scroll to the bottom of the page.
  • Click 'Download Zazzle Image Builk Uploader File' from the section headed 'Installation'.
  • Press 'save file', if prompted by your computer.
  • Double-click the ZazzleUploader.exe file, once it has downloaded.
  • Press 'run', if prompted by your computer.
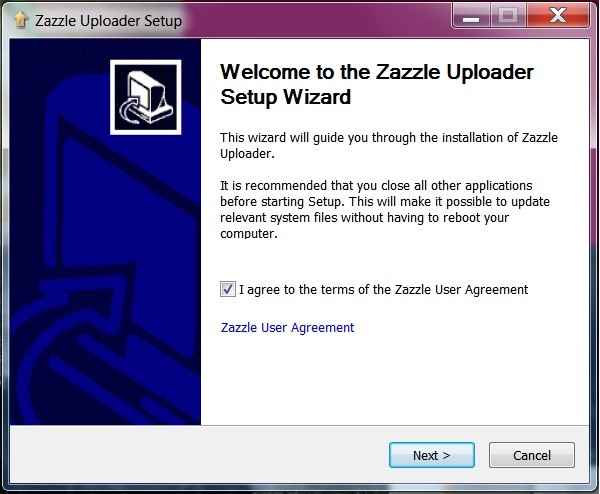
  • Tick the box to say that you've read the Zazzle User Agreement (you could actually read it, as an unusual extra step).
  • Press 'next'.
Image: Zazzle Builk Uploader Installation Wizard
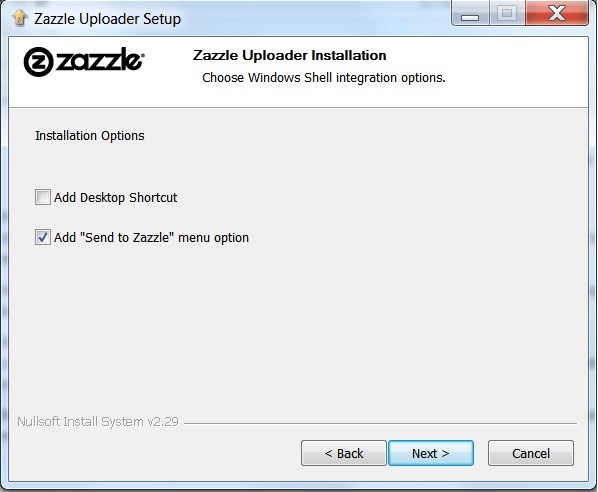
  • Press 'next', if you're happy with where the program will be stored.
  • Press 'next', if you're happy with a desktop shortcut and a 'send to Zazzle' menu option.  If not, untick the ones that you don't want.

Personally, I kept the 'send to Zazzle', as that is likely to be extremely useful.  It will let you right-click any file on your computer and automatically zoom it off.  You will be able to use that to make products then.

However, I unticked the desktop shortcut.  This is because I don't litter my desktop with anything but the recycle bin.  It helps with boot speed.

When you have loads of icons, files, links etc on your desktop, each time you switch on your computer, they are all read.  It might be that nothing happens next.  It might be that they all switch on some program somewhere.  Either way, you have slowed down your PC by a tiny amount.

Better to have a clean desktop (with just a pretty picture if you like) and navigate from your start menu instead.  Those DON'T load on booting.

Image: Zazzle Builk Uploader Installation Wizard
  • Click 'Install', if you are happy with where the shortcut links will be situated; and you like the default name.

I have a friend who detests default names.  He will go out of his way to rename any file or program on his computer, in order to fit his preferences.  For example, iTunes is called something like 'Yay! Le Musicz!' on his start menu.

I do love his thinking.  I'm just too lazy to be that surreal!

Back to the plot.  I was happy with Zazzle's default choices, so I did just press 'Install'.

  • Press 'Finish'.

Congratulations!  You now have the Zazzle Bulk Image Uploader on your computer!

Using Zazzle Uploader for Bulk Images

The program is called Zazzle Uploader. It's only the marketing that adds more description to the title!

Ordinarily, images and files are uploaded onto Zazzle by using the default uploader on your dashboard.  This program not only stream-lines the process, but it gives you more options too.

Let me demonstrate by working through photographs that I took at Sudbury Hall back in February 2012.

I'm not the world's most accomplished photographer.  I have a decent camera, which is idiot-proof enough that I can just point and click.  That occasionally captures a scene of such quality that I can happily use it in my Zazzle products.

However, that image will be surrounded by hundreds more which look great, but aren't nearly professional enough.

My Sudbury Hall folder has 215 photographs, which I examine for possible use.  I'll use my new Zazzle Uploader to demonstrate the ways to send the good ones to that site.

Option One: Right-Clicking the Image or File

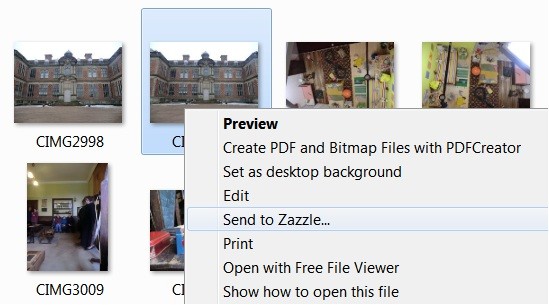
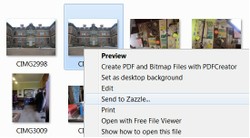
This option will only be available if you ticked (or left ticked) 'Add "Send to Zazzle" menu option' during the installation.

When you right-click any file on your computer, you will now see that addition to the list. 

Image:  Send to Zazzle Menu Option
Image: Send to Zazzle Menu Option

Once you select that option, the image or file will be added to your Zazzle Uploader.  It won't immediately be sent to the website, as you have to press another button for it to do that.

(You also need to have signed in, clicking the prompt in the right-hand corner to add your log in details.)

This file will now wait, while you select more files to upload.

How to Sort Through Files and Photographs

A good friend and photographer once shared his tips with me about sorting through images.

Once he'd transferred the photographs from his memory card to his computer, he'd create a folder entitled 'good'.  Then he'd flick through all of them.  Each time one made him pause, it would be moved into the 'good' folder.

I just whittled down my 215 to just 8 in that way.  He's a better photographer, he could end up with hundreds in there.

There would then be a second folder, located inside 'good', which he'd name 'better'.  This was a more discriminating process.  Each of the 'good' photographs would be subjected to proper scrutiny. 

Was the composition correct?  Was the lighting perfect?  Was there anyone or anything photo-bombing in the background?  If two or more were similar, which was the better one?

That would result in a much smaller gallery in his 'better' folder.  Yet he still hadn't finished.  A third folder entitled 'best' would sit in there.  Now his 'better' photographs would be ruthlessly culled into the absolutely brilliant ones; and those would be used.

Like I said, he's a much better photographer than me.  I stopped at 'good'.

Option Two: Zazzle Uploader's Drag and Drop

Zazzle doesn't want all of your vacation snaps.  But it does have a place in its product range for the really great pictures.

Once you have your files ready, then the program comes into its own. 

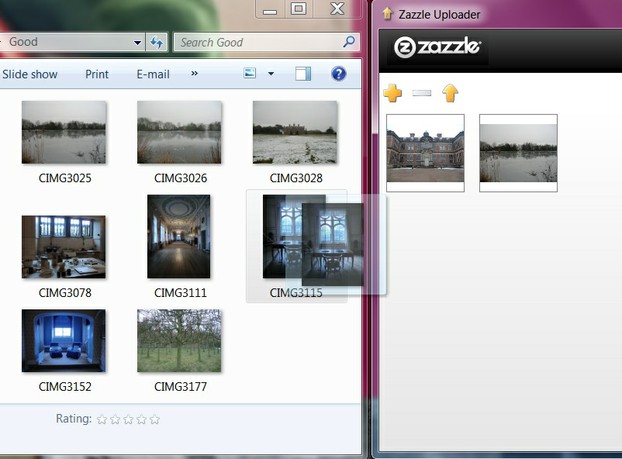
  • Arrange your Zazzle Uploader alongside your gallery folder.
  • Left-click on an image, but don't release the mouse.
  • Drag your mouse over to the Zazzle Uploader.
  • Release the left-click.

You will see your file now ready to be sent to Zazzle.  This action becomes even quicker, if you select all of your files first, then drag them across en masse.

Image:  Dragging and dropping images with Zazzle Uploader
Image: Dragging and dropping images with Zazzle Uploader

Yes, there is a cursor gripping that ghostly image.  The screenshot didn't pick it up!

It is worth noting that the Zazzle Uploader is intelligent.  I purposefully try to add the same image a couple of times.  Everything dragged as usual, eliciting no error message, but the image only showed up once in the uploader's gallery.

Option Three: Adding Files Directly from the Zazzle Uploader

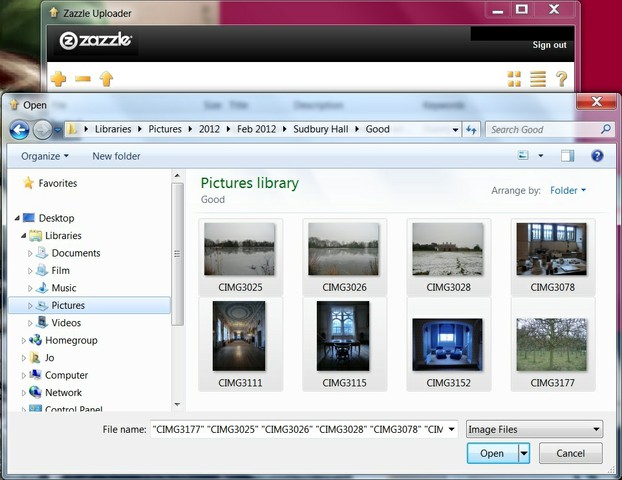
Inside the Zazzle Uploader there is a plus button.  Once you click it, a pop-up window will provide access to your hard-drive.

You simply have to navigate to where your images or designs are filed, then select it.  (Or select all, if you have several in the same folder.)  Click 'open' and those files will be transferred to the uploader.

Personally, I find that the most boring of the three options, hence I left it to last!

Image:  Using the plus button to add images to Zazzle Bulk Image Uploader
Image: Using the plus button to add images to Zazzle Bulk Image Uploader

Organizing Files Within the Zazzle Uploader

I imagine that most people will simply upload everything at this stage, as there are many more tools to organize them actually in Zazzle.

However, there are some options that can be utilized before you send them, in the uploader itself, which could save you time later on.

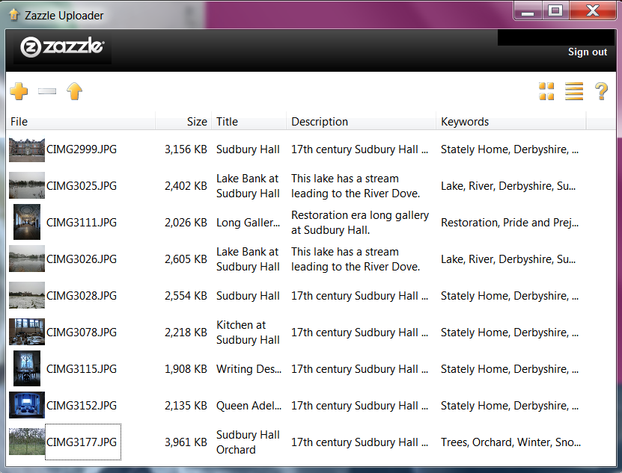
You can view them as images or text based details, by clicking on the prominent options in the right-hand corner.  'Large Icons' is the default.

If you are very organized, you could use the 'Details' view to add in all of your titles, descriptions and keywords now.  This will pay dividends later on, when your Zazzle image gallery is huge and unwieldy.

It's also worth noting that this information will transfer to the product information.  You will not have to input it again, when you are preparing items for publication in your store.

Just click on each element to open up a text box.  Then type your details into it.

Image: Details View on Zazzle Uploader Completed

Keyword tip:  If you add speech marks around phrases, they will not separate in your tags.  For example, Sudbury Hall will translate into two tags as Sudbury, Hall.  But "Sudbury Hall" will become Sudbury Hall as a single tag.

You can also remove an image by selecting it.  Either click the minus button at the top, or right-click the image and select 'remove' from the pull-down menu.

There are several options on that right-clicked pull-down menu.  Notably you can use it to import or export CSV files.  That might be useful, if you are in the habit of keeping your data (for example, keywords) as comma-separated values.

Though I suspect that sort of behavior is for ultra-geeks only.

Transferring the Files to Zazzle

The next bit is so easy that it made me blink!

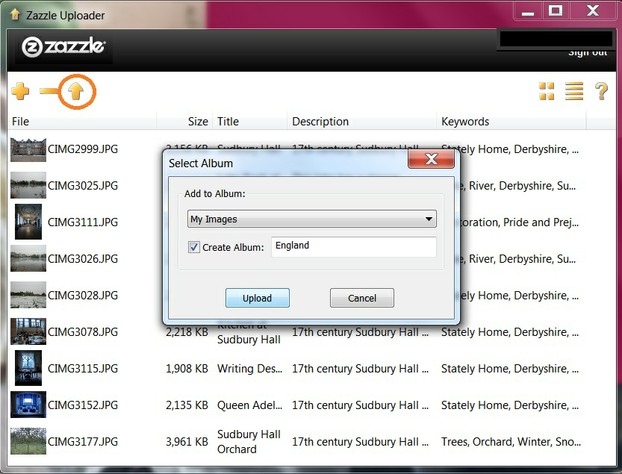
Once you are satisfied that all of your files are in the uploader, and you've added any details that you wish to do, then just press the upward arrow button on the program's top toolbar.

You will be asked to select a destination folder, in your Zazzle image gallery, or invited to create a brand new one.

Then press 'upload'.

Image: Uploading Files to Zazzle

A pop-up box will overlay your uploader, displaying your transfer progress.  Once it's done, you have the option of uploading more files or carrying on to your Zazzle image gallery.

Happy Zazzling!

Ready to Start Making Products? Off You Go!

True artists spend many hours lovingly crafting and polishing their finished product. The rest of us use quick create. Let me show you how to produce 100s of items in minutes.
Updated: 01/25/2013, JoHarrington
 
Thank you! Would you like to post a comment now?
8

Comments

Only logged-in users are allowed to comment. Login
JoHarrington on 06/06/2014

Any image really. :)

Mira on 06/06/2014

I'll look into it then. It probably works best with photos.

JoHarrington on 06/06/2014

Yes! It can save a tremendous amount of time. :)

Mira on 06/04/2014

Oh, so you add the description and keywords in this software! I'll have to try it, see if it saves time.

JoHarrington on 10/14/2012

Excellent! I'm pleased that you've got some use from this. Let us know how you get on. <3

JoHarrington on 10/12/2012

Awww! Thank you very much. Coming from you, with all of your experience here, that's a lot. <3

dustytoes on 10/12/2012

Great tutorial Jo! And thanks for the mention- I learned a lot reading this, as I have used the uploader, but did not know I could do all this with it. I will be linking to this page.

JoHarrington on 09/27/2012

You're very welcome! I'm glad that it's been useful to you.

JoHarrington on 09/27/2012

I hope that it's useful. :D Thanks!

sheilamarie on 09/27/2012

Nicely explained, Jo.


You might also like

How to Use Zazzle Quick Create

True artists spend many hours lovingly crafting and polishing their finished ...

How to Use the Background and Border Feature on Zazzle

The background and border feature on Zazzle is tucked away and not easy to fi...


Disclosure: This page generates income for authors based on affiliate relationships with our partners, including Amazon, Google and others.
Loading ...
Error!