
Easy-Make Quick Craft Ideas
Craft ideas that take only basic materials and less than an hour. Ideas using paper!
Here are some quick craft ideas about embellishing your everyday objects using just paper and glue, If you are already using a plain jar, folder or box, why not jazz it up a little? The following ideas are not difficult and require very little in the way of equipment, expertise or even time. So why not have a little fun and brighten up your home!
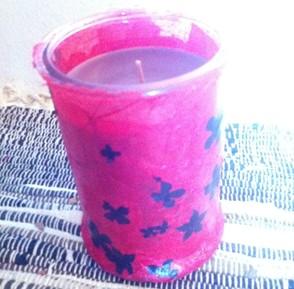
Decorate a Candle Holder with Tissue
You will need:
- Glass candle holder
- Tissue paper
- Scissors
- Glue stick
- Varnish
Cover the outside of the glass with the glue stick. Apply a lighter colored tissue in large pieces to cover the entire area. Apply more glue as required.
Cut decorations in the darker color and apply. Cover the entire outside in clear varnish (spray varnish is the easiest).
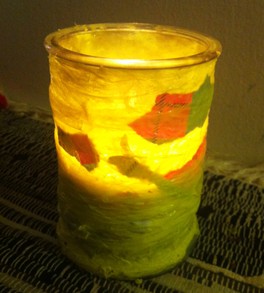
The candle flame will glow through the tissue as the candle burns down. After the original candle is used up you can place tea lights in the bottom of the jar to create the same effect.
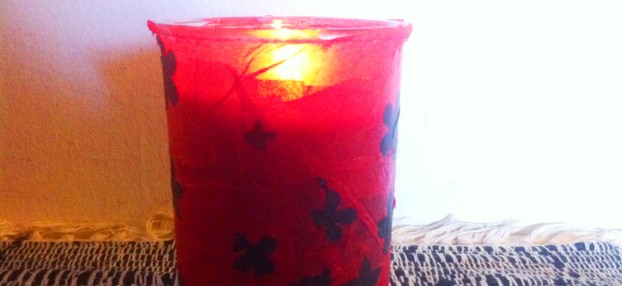 lit votive |
But if you do have decoupage paste this allows you to apply much thicker layers of tissue to get more textured effects. Pale colored tissue will crate the best effect as light will pass through it more easily.
You can twist different colors of tissue together and them apply, or embed paper, beads or other embellishments between layers of tissue.
You should still provide a final layer of varnish or lacquer. Be careful to avoid paper or varnish getting in the interior of the jar as it may create a fire hazard. (Never leave a candle burning unattended).
Cover a Sundries Box with Wrapping Paper
- Cardboard box
- Wrapping paper
- Cut-out pictures
- Glue stick
- Varnish
- Rustoleum
If you are already using some convenient box to hold household or office items, why not dress it up. This can be done in just a few minutes.
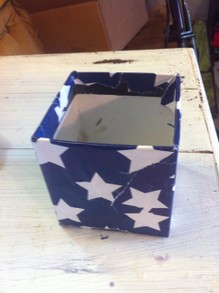
Cover the outside of the box with the glue stick and cover in wrapping paper folding some over the top and into the interior of the box. Spray the inside of the box with Rustoleum.
Glue pictures to the outside to decorate. Finish with clear varnish.
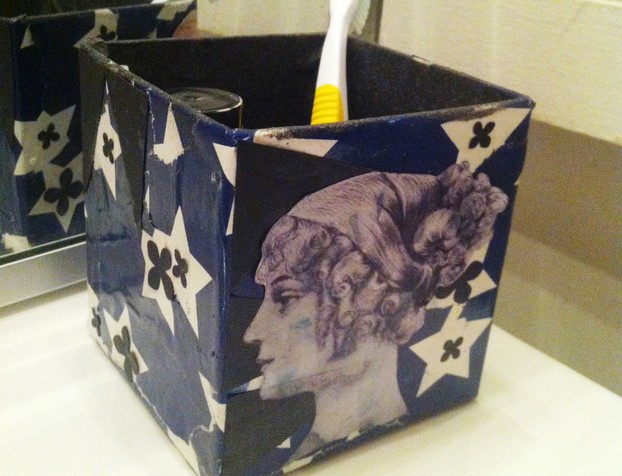 finished box |
Storage Box with Window
You will need:
- Shoe box
- Paper such as wrapping paper
- Clear plastic
- Scissors
- Decoupage paste or glue
- Strong glue (e.g. super-glue)
- Varnish
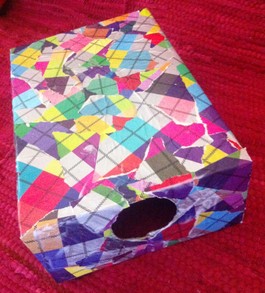
Cover the box and the lid with paste or glue and torn strips of paper. (Or you can go for a neater effect if you like, I prefer a more textured look).
Cut a window in one end. Glue clear plastic to the inside with strong glue.
Finish with varnish.
You can easily see what is in the box but the contents are still protected!
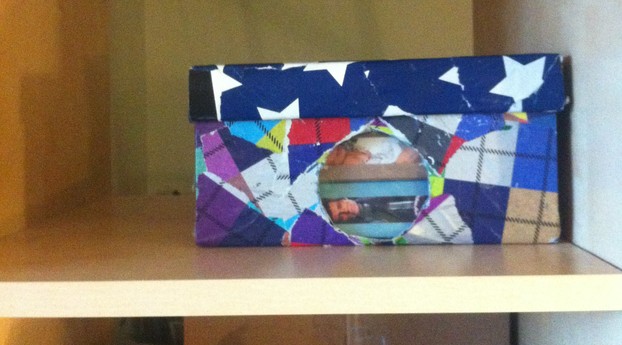 a large shoe box is the perfect size for DVDs |
You might also like
Detailed Clover Pom Pom Maker InstructionsStep by step how to photo tutorial for making yarn and wool pom poms with a p...
How to Make a Toothbrush RugFor a really green project, try a toothbrush rug. You can use recycled fabric...


 Easy-Make Chocolate Crackleon 07/29/2012
 Easymake Penny Lampshadeon 07/17/2012
 Easy-Make Kindle Coveron 06/10/2012
 Lipton Tea and Honeyon 06/10/2012
Comments