
I've been riding a motorcycle for a couple of years, but in many ways, I wouldn't call myself a highly skilled rider. Particularly when it comes to making tight turns required for those stupid figure eights you have to do to pass the test in the safety class.
I'm terrified of tipping over and hurting the bike and myself. (Probably in that order.) Not to mention, it's rather embarrassing to not be in control of your bike. But even more embarrassing when you can't get that bike back upright. Yes, I tend to think in terms of worst-case scenarios. Makes me better prepared to deal with the challenges thrown at me.
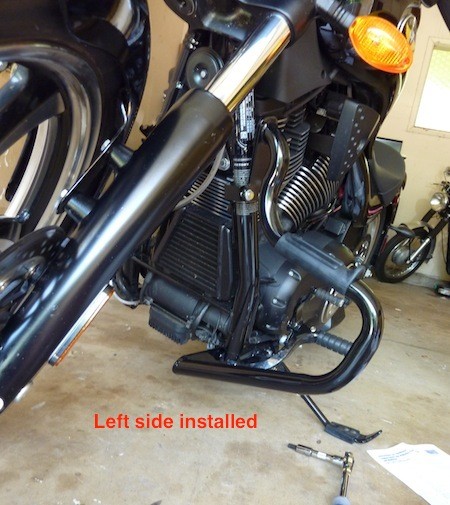
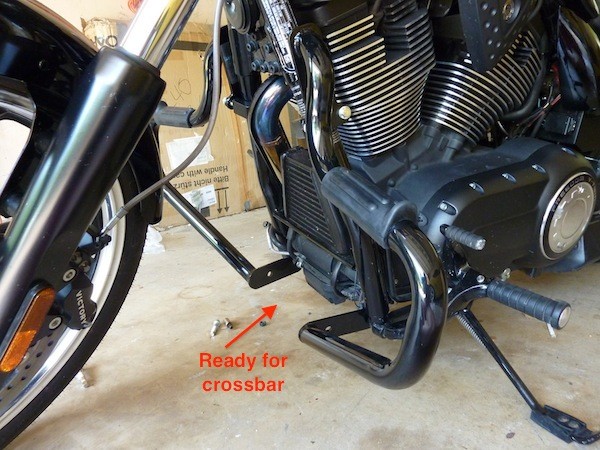
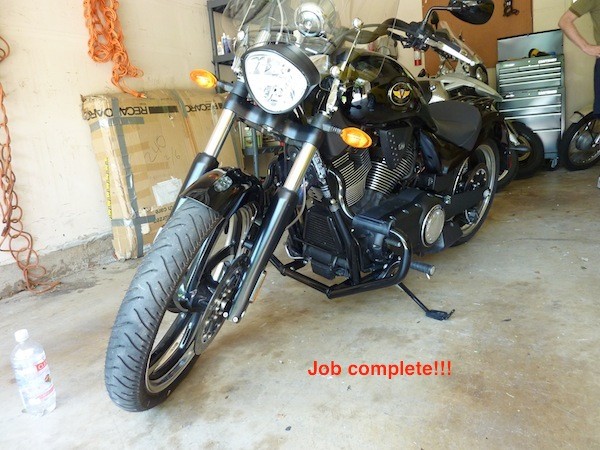
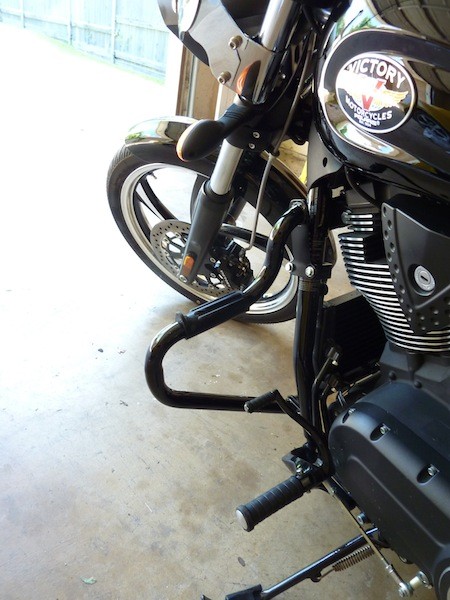
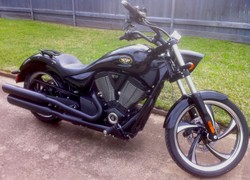
So on my last bike and this one, I installed crash bars. Highway bars. Engine guards. Whatever you want to call them. Any manufacturer is going to tell you they aren't specifically meant to protect in the case of a crash, but people still tend to refer to them as crash bars.
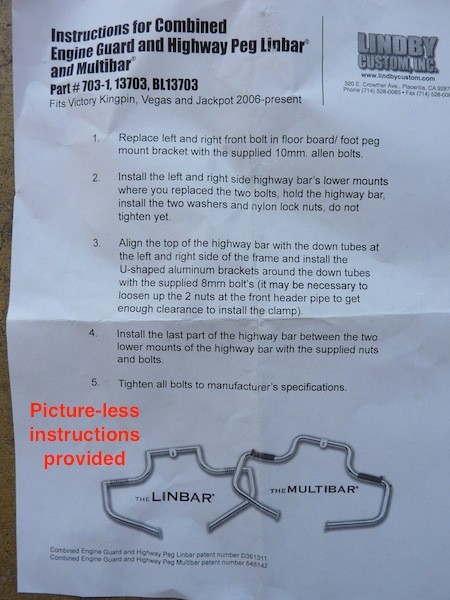
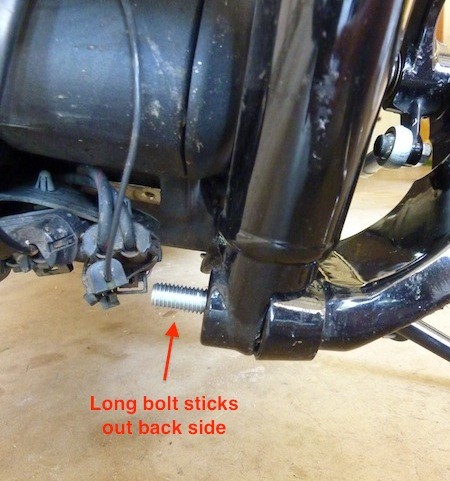
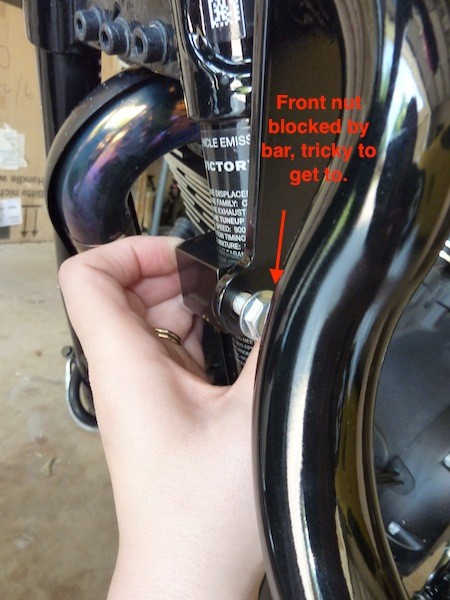
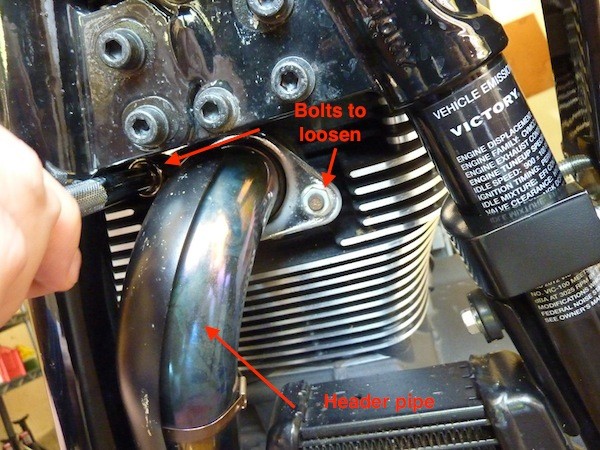
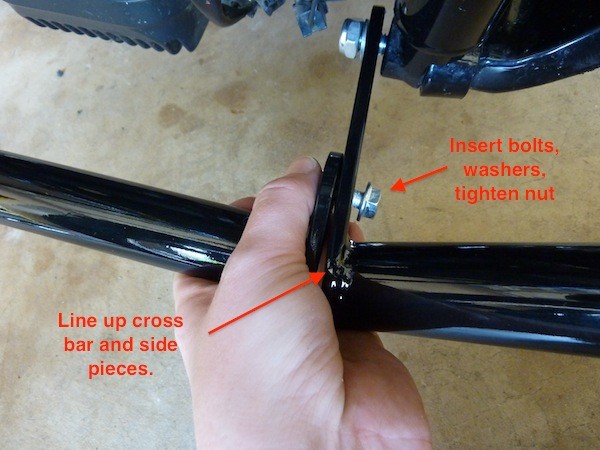
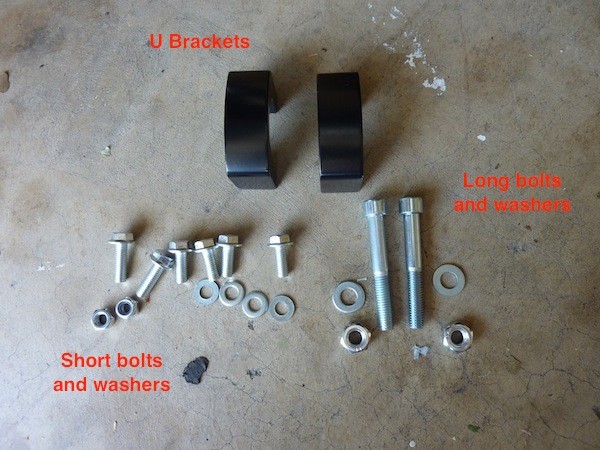 The old pictures of the Lindbar show it as one piece, so I'm not sure entirely why they changed the structure and added the crossbar as an extra piece to install. My Cobra Fatty bars were all one piece and a dream to put on. But we get lots of extra steps here with the new Lindbar.
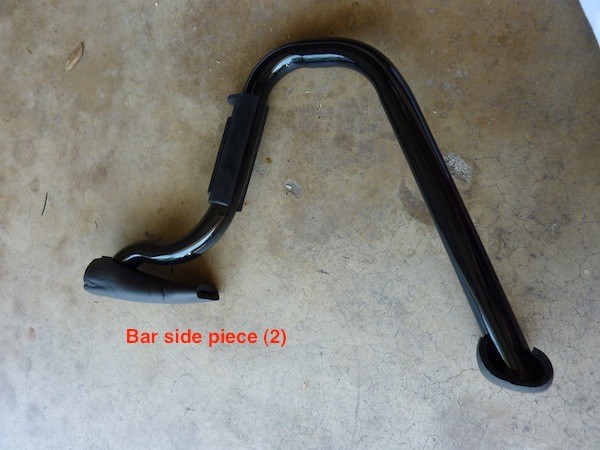


 Step2 Neat & Tidy Cottage Reviewon 06/04/2013
 Why You Should Include Wits & Wagers in Family Game Nighton 05/09/2012
 Lego Bedding and Bedroom Decoron 04/11/2012
 I Got My Driver's License!! Gift Ideas for Your New Driveron 03/17/2012

Comments
Thanks great help instruction and photos and do and dont's you posted online. You was right the instructions by Lindby was terrible. I did minds bars on my Victory HighBall about 1 hour slowly and it was raining anyway lol. I was also able to slide the left upper bracket easy by loosen up the heat shield three screws.