
Handy Manny Invitations
There are different ways on how to create a Handy Manny invitation and I will show you my own version.
My own Handy Manny Invitation
There are many ways on how to create an invitation for your child's birthday. However, I want to show you my own version.
MATERIALS
- Soft and scented papers
- hard paper with design
- stapler
- puncher
- ribbons
- Envelope
- scissors or cutter
- stick glue and glue gun
Once you've gathered the necessary materials, you can follow the steps below:
Step 1: open your computer and go to Microsoft word document.
Step 2: Make your layout. The page of your paper must be in a landscape position and not in portrait position.
Step 3: Draw a table with two columns and a single row. Enlarge the table.
Step 4: You can now start putting the designs and details of the invitations.
Step 5: In putting designs, words, and pictures, try to use a text box. In this way, it will be easier for you to make your design. You can insert the picture of your child and handy Manny with tools. You are also opted to apply different colors as the background. It will be best to add messages that will touch the heart of the guests.
Step 6: On the next column or the other side, write the details of the party like the celebrant's name, time started, time ended, date, and the RSVP.
Step 7: At the bottom part, insert the picture of handy Manny so that the theme will be emphasized.
Step 8: Print multiple copies using the soft and scented paper.
Step 9: Once the printing is done, by following the margin, cut it with a scissor or a cutter.
Step 10. Join them together and make a hole in the upper middle part of invitation. Staple the space between the two holes. And, insert the ribbons to secure them together. You can use pink ribbon for the female visitors and blue for the male visitors.
Step 11: get the hard paper and wrap it around the soft paper. Make sure that the two edges will meet at the center.
Step 12: With the use of a long ribbon, wrap it around and make a ribbon at the center. At the back of the whole invitation you can keep the ribbon secure by sticking it with a glue stick from the glue gun.
Step 13: The invitation is now ready. Put it in the envelope and put the name of the invited guest in front of it. Make sure that you will going to distribute the invitations ahead of time.
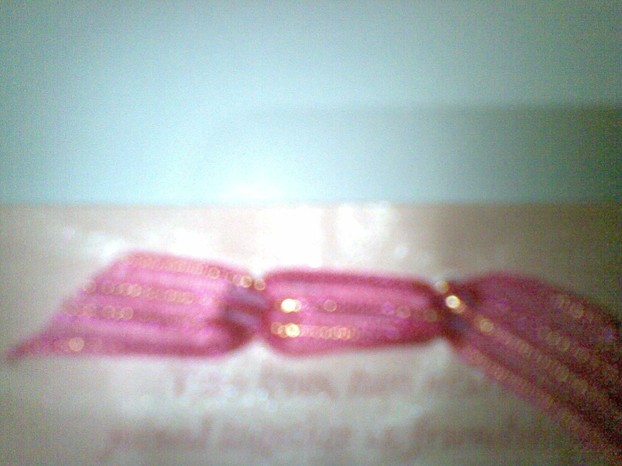 How to ribbon |  The finish product |
 My Example Invitation |
Great Invitation and thank you note card
 |  |  |
| Handy Manny Invitations 8ct HALLMARK MARKETING CORPORATION Only $2.99 | Handy Manny Thank You Notes 8ct HALLMARK MARKETING CORPORATION | Handy Manny Basic Party Pack ShindigZ |
 |  |  |
| Handy Manny Party Supplies Deluxe Par... HALLMARK MARKETING CORPORATION | Handy Manny Deluxe Party Pack ShindigZ | Handy Manny Basic Party Pack Shindigz |
You might also like
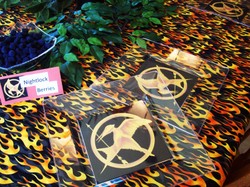
Hunger Games Party IdeasHunger Games party supplies and ideas for your next celebration. Happy Hung...
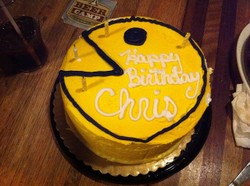
Pac-Man Party SuppliesWaka Waka Waka! It is time for a birthday party featuring Pac-Man and the gho...
Disney's Sofia the First Party SuppliesHost a beautiful Sofia the First birthday party for your little princess!


 Handy Manny Cakeson 07/06/2011
 Handy Manny Party Supplieson 07/06/2011
 Handy Manny Party Ideason 07/06/2011

I'd like to hear from you. Share your comments.