Many looms have devices to raise and lower warps to make a space that is called a shed. This is where the shuttle passes through and makes a shot of weft or interlocking yarn that creates the web or fabric. The weft will go over and under the warp in a plain or fancy pattern. The plain weave is also called a tabby weave and it is the one we will be discussing here.
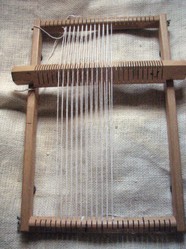
The magic heddle loom is unique in that instead of slot and holes, or harnesses, it uses a stick with slots. Every other slot is angled to one side and the others are angled to the other side. By turning the stick one quarter turn, a shed is produced. Then the stick is turned back to create the other shed. It is a simple matter to warp this loom since it can be wound on with the stick in place.

How to Weave with a Magic Heddle Loom
by Ragtimelil
There are many little looms out there but one I there is one called a magic heddle loom. It’s the quickest and easiest way I’ve found to do a little weaving.
Find a Magic Heddle Loom
I have not seen these looms in the stores, but I almost always can find one on eBay. It is not a lap loom, rigid heddle loom or weave-it loom. It's not a tapestry loom although you can weave tapestry on it. They usually described as a German loom. They are not expensive and fun to use for a child or an adult. I use mine to make samples and to try out some new weaving techniques. The loom is limited in that it can only weave plain weave, but there are plenty of techniques to try out with this simple loom.
 | German vintage tabletop weaving loom~Vedes~excellent condition! Time left: 0 minutes Current bid: $19.99 Place bid |
Warping
The loom frame is just that – a frame. It has slotted ends so the warp can be wound around the slots and over the heddle. Start warping by adjusting the slotted ends of the frame so that they are just slightly angled away from the heddle. This will give you some flexibility to loosen or tighten the warp.
Tie the end of string or a smooth strong cotton or wool warp and bring it down to the other end of the frame, going over the heddle. Wind it through one slot and back up through the next slot over. Bring back over the heddle in the next slot and back to the first slot in the top of the frame. Then back down in the next slot and continue until it's the width you want. I put two warps in the same slot so that the warps will be closer together. You can space it wider by just using one warp in one slot. Use the thumb of your other hand to hold the warp down as you go to keep a good, taut tension on the warp.
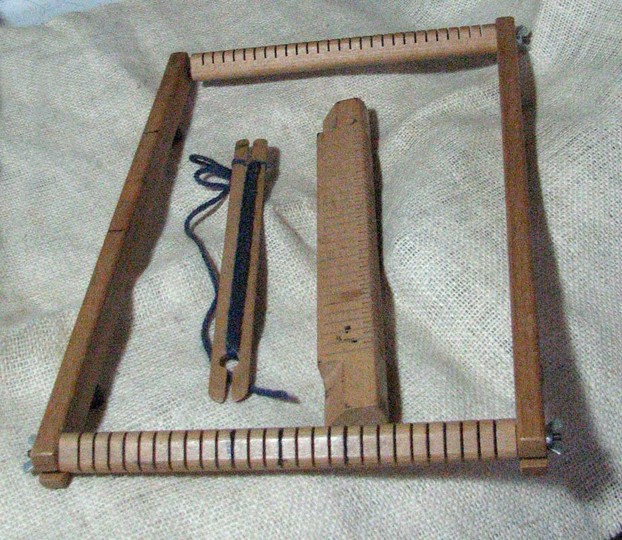 Loom |  heddle |
 Warp |  Warp slots |  Heddle slots |
I managed to lose the comb that comes with it to beat the weft down. A kitchen fork works as does a wide toothed comb. Sometime I use the shuttle to push the warp down. I also use a wool needle when I stitch the edging to keep the warp from unraveling when I cut the piece off the loom.


Weaving
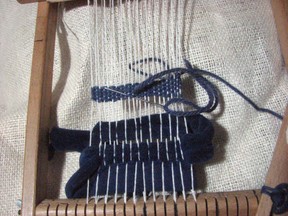 I used a strip of fabric to make a spacer in the beginning of the weaving. You can also use strips of cardboard. Just lay it in the shed, turn the heddle and go back across the warp again. Repeat until you have enough warp to tie it off when you are done.
This time I used a whip stitch to secure the weaving .Leave a tail on your first shot of weaving that is about 3 times the width of the warp.Weave a few rows. Thread the needle with the tail and stitch an overcast stitch across the end of the weaving. Weave the end in a few rows and trim.
You can also do a row or two of twining, hemstitching or fringe it with an overhand knot or twisted fringe. There are books of finishing techniques that you can practice as well as weaving.
Changing Color or Adding On
To change color, or add on when you're at the end of one shuttle, you can just lay the end in the shed. If it is bulky and would show, untwist the yarn a bit and have half of it coming out between two warps, and the rest coming out between two warps further down. The first picture below shows how that looks.
You can do the same procedure with starting the new weft, or, as I did here, I just laid it in the shed. You don't want the end of the yarn right at the edge of your weaving. Have it end and start part of the way across. Always try to pull the yarn apart so it has a softer end to it. Sometimes it's just too strong and you will have to cut it.
 End of first color | 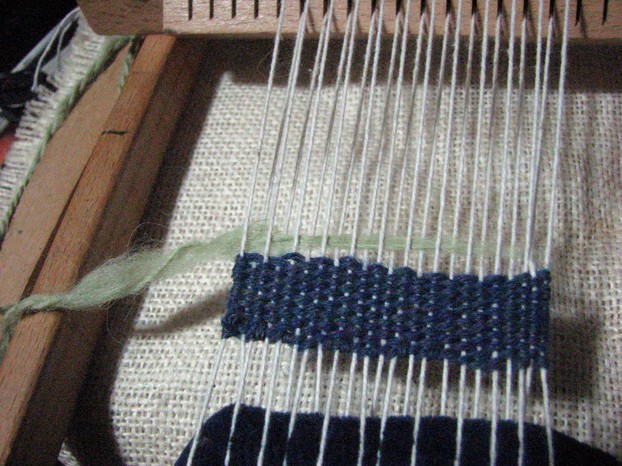 Laying in new color |
Finishing
When you've woven as much as you want, repeat the same thing you did at the beginning to protect the weft from unraveling. I did another overcast row at the end.
Now you can cut the warp. Cut close to the loom so that you have plenty of warp hanging off. It's easier to trim it than to try to tie short pieces if you decided to leave a fringe.
One way to trim the edge is to fold the piece over so that the woven edge is even. Comb out the fringe and trim to the desired length.
It's recommended to always wash a woven piece after it comes off the loom.
You can use these samplers as coasters, or mug rugs. The one one the far left was an experiment in two shuttle weaving with twisted fringe. The top was an experiment in inlay and the bottom was the one I just did for this tutorial. I will be experimenting with all string weaving for bookmarks next.
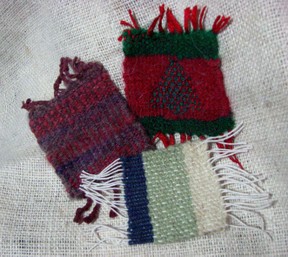
You can make coasters and mug rugs, treasure bags, little tapestries and many other items. You can also make squares and sew them together like crocheted granny squares and make everything from clothing to blankets.
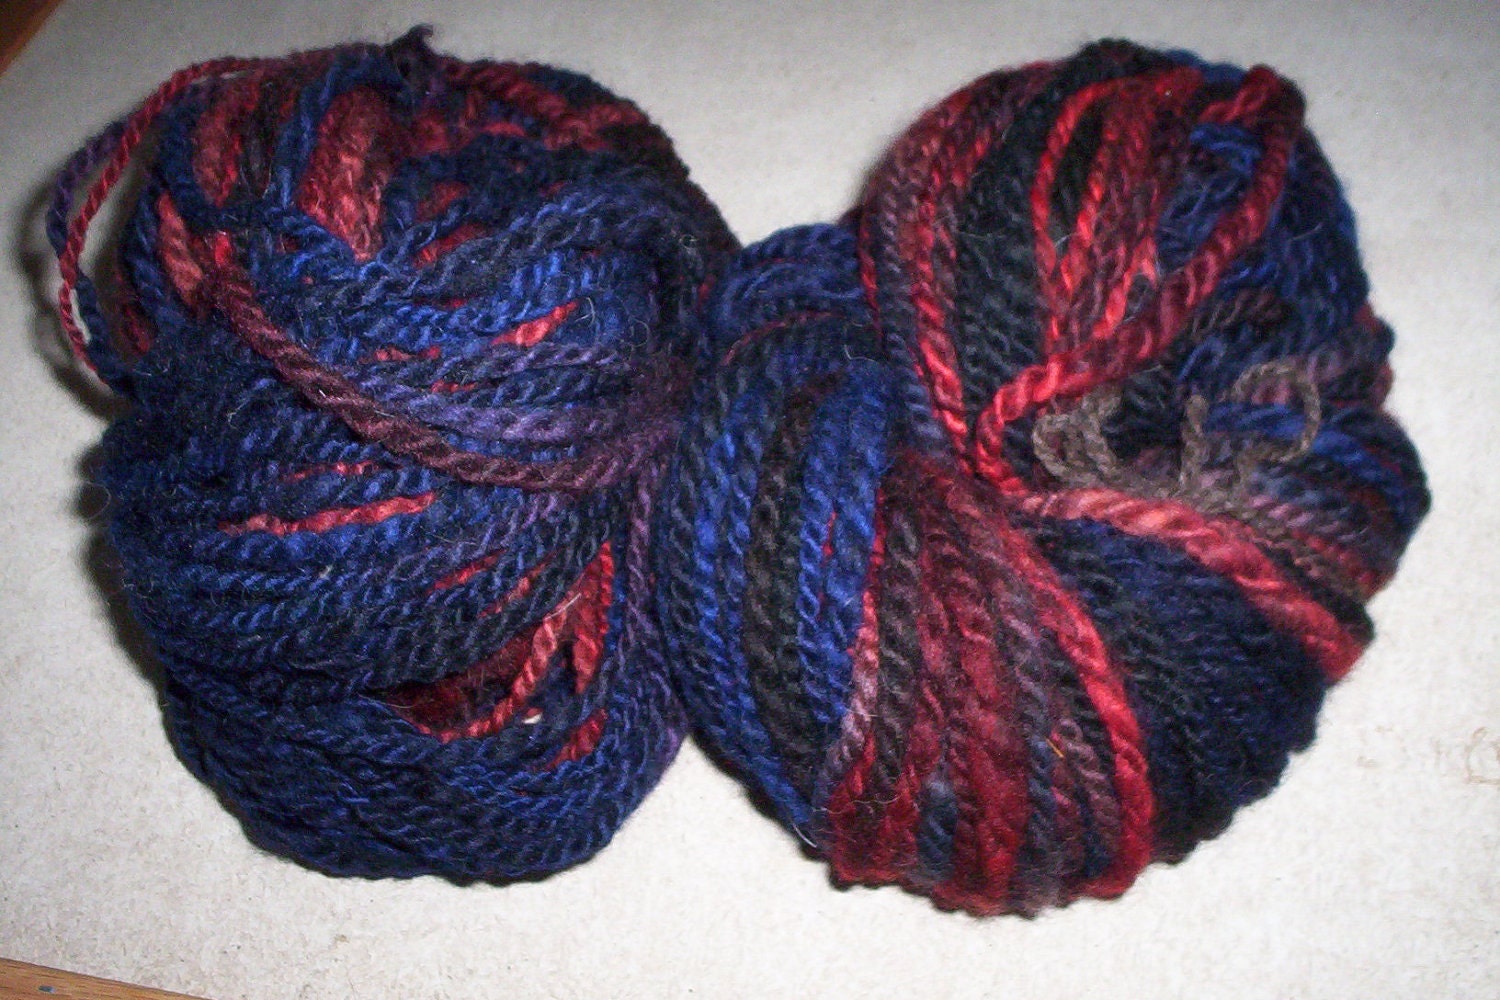
Hand dyed Shetland/Merino Yarn
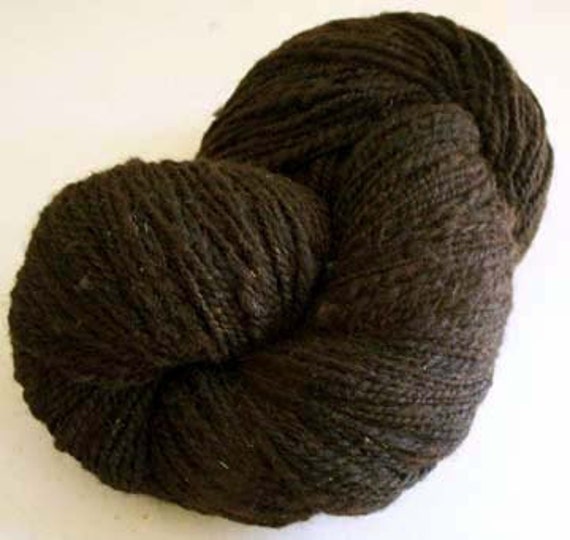 Deep Brown Handspun Romney Cross Wool Yarn
You might also like
Detailed Clover Pom Pom Maker InstructionsStep by step how to photo tutorial for making yarn and wool pom poms with a p...
Runescape Fans! Make Yourself a Hat for RunefestHave you wanted a really unique hat that you can wear any time? How about mak...

 How I Found My Free Family History Programon 09/05/2013
 Finding a Graveon 09/01/2013
 Do Border Collies Make Good Pets?on 08/11/2013
 Hubert Patey - an Indentured Servanton 08/02/2013


Questions and Comments
Interesting. Hope you're enjoying it.
I bought one recently from Global Rakuten. Its is roughly A4 size and is quite cheap.
http://global.rakuten.com/en/store/ha...
There was a small size one too. Its called a Mini
http://global.rakuten.com/en/store/ha...
I can't read Japanese so I don't know the exact name for each one.
Thanks! This is a nifty little loom and cheap enough to risk trying out a new craft to see if you like it.
Pam, This one is so easy. It's the warping that is intimidating. This little loom makes it simple.
Thanks!
Sue, I don't think you can beat it for the price and ease of use. I've taken it to weaving demos and it has been a hit, even with other table looms around.
I love your woven crafts. Thanks for showing us how you do it. Seems like a lot of work.