Wet felting is an ancient technique of making a sturdy material for everything from bags, clothing, padding and even shelters.There are many, many versions of how to make felt. I would say that most if not all of them work. This is just the way I do it and it works for me
Felting is the process of making a fabric. That is the first step. Fulling is the process of hardening the felt. The popular craft called knitted felting technically isn't felting at all. The fabric is knit and then the item is fulled to shrink and harden it.

How to Make a Felt Bag
by Ragtimelil
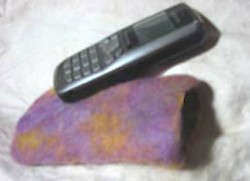
Here's a basic tutorial on making a cute little bag that you could use for a cell phone pouch. It uses the seamless resist method.
Supplies
 You will need some supplies:
- non-slip shelf lining or bubble wrap
- sheets of plastic bigger than your project
- towel, sponge or rags
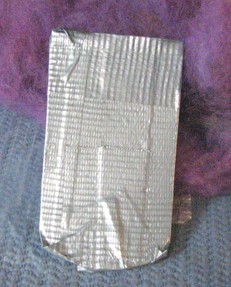
- pattern cut from plastic or linoleum or cardboard wrapped with plastic wrap and duct tape
- hot water
- soap - I make my own glycerine bar. Most soaps work, but some work better than others.
- sheer curtain material
- Wool - either card some batts of wool, or pull tufts of wool from roving.
Here's a tip that took me a long time to learn. Not all wool will felt. Some breeds of sheep have what is called down fleece. These do not felt well if at all. Breeds of this variety are the Suffolk, Dorset and Southdown. Merino is the softest grade of fleece and the fastest felting. There are some charts online and in books that rate the breeds of sheep and their fleece.


Setting Up
If you are a total newbie to wet felting, I suggest you try making some “snakes” first. It helps to get a feel for how the felt hardens.You can also use one for a handle on your bag.I have instructions for that here.
 I first put on the water to get hot while I set up materials. If I’m doing a large piece, I lay out a towel to catch any drips that might escape. Then I cover the towel with a square of plastic sheeting, otherwise, I just soak up wet areas with a sponge or towel.
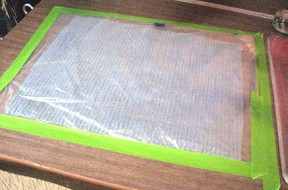
I then lay down the non-slip shelf liner that will be larger than my pattern. Another piece of plastic goes over the shelf liner so the fibers don't get stuck in it. I tape it down to keep it from moving around.


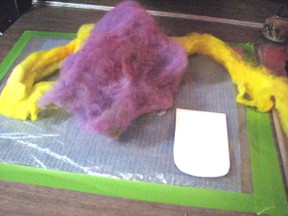
Resist Pattern
There are two ways to use the resist pattern. You can either have part of it stick out so that the end stays open. That would be the opening for the bag. The other way is to completely enclose the resist in the felt. Once the felt is made, you cut the end and gently felt the raw edge to finish it. This is the way I’m doing this little bag.
Lay down your resist to use as a pattern. Pull your wool in to tufts and start to cover the resist. Layer your wool tufts in one direction for one layer, then at 90 degrees for the next. Lay down 4 to 6 layers or until it feels thick enough. It will feel thicker when it is dry. Feel for any weak spots and add more wool. Let the ends of the wool overlap the pattern just a tiny bit.
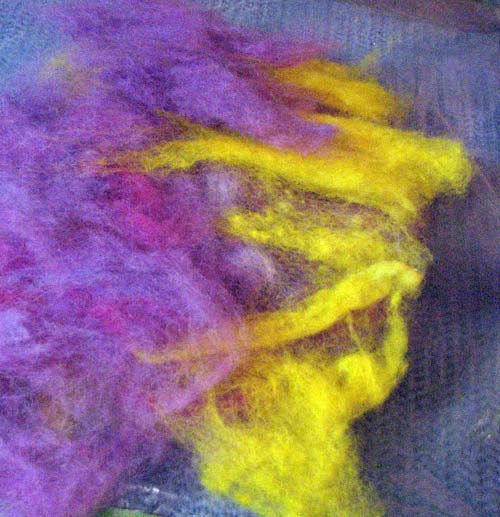 First Layer | 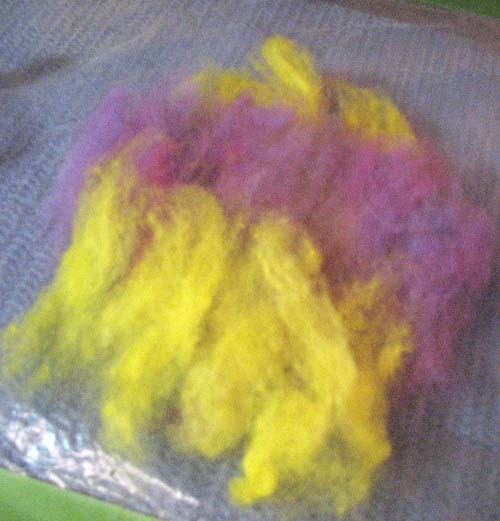 Second Layer |
Starting to Felt
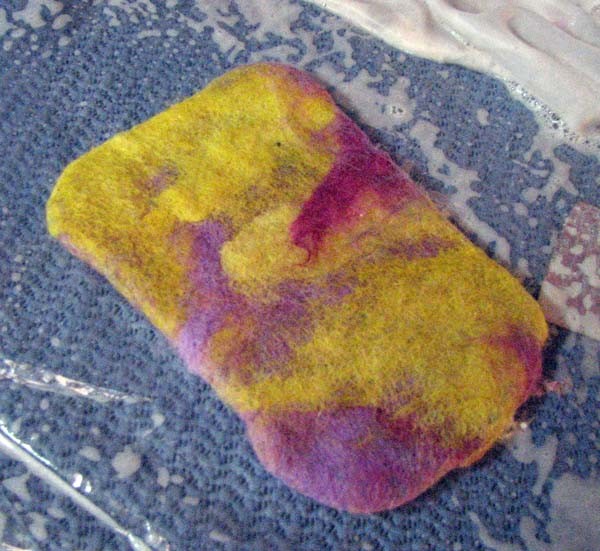
Cover with the sheer material. Dribble hot water on the wool until just wet. Add your soap. Rub the bar or dribble liquid to just the point where it is slippery. Not too much soap here and don't rub too hard. You want the fibers to latch onto each other and not be pulled apart. Keep gently rubbing the wool, lifting the sheer cover from time to time to prevent it from sticking to the wool. Leave the outer edges dry and fluffy. We’ll be dealing with them soon.
As soon as the wool holds together, flip the whole thing over so the resist is now on the top. Gently start folding the raw edges over. The trick here is to not fold it over itself, but to make a ripple along the edge, sort of like a pie crust. Add more wool to cover the center. Only let a tiny bit extend beyond the resist. Cover with the sheer material and work this side as above. Now flip it again and fold over the edges as above. Now keep rubbing and flipping until it holds together like a fabric.
In the picture I found a piece of bubble wrap to rub the felt with. You can also use it underneath for more abrasion.
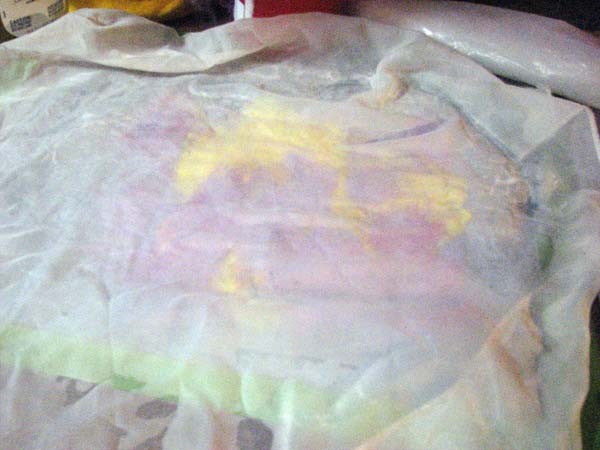 Cover and Wet |  rubbing with ... | 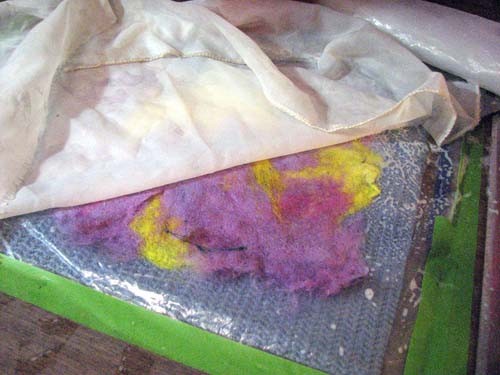 Checking |
Needles and Scissors
Once the felt is solid, carefully cut the top of the bag and slide the resist out. With a little soap on your finger, rub the raw edge to seal it shut.
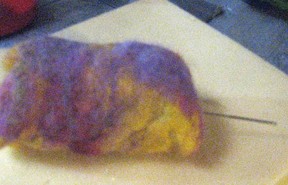
If you find a thin spot once the felt has set, use a felting needle to add some wool to the area. I use a strip of foam that I can push up into the bag. Sometimes it looks better to turn the bag inside out to mend it, then turn it back right side out for the final fulling process.


Fulling and Finishing
This is my favorite part of making something out of felt. There are all sorts of fun ways to full your bag. If you have a piece big enough, you can slap it on the counter. You can shock it with hot and then cold water. You can beat it with a meat hammer. You can roll it. You can roll it in a bamboo mat or roll it with a rolling pin.
The only requirement is that you roll it one way, then turn it 90 degrees and roll it that way. It will shrink in the direction you are rolling. Turn it and stretch it periodically.
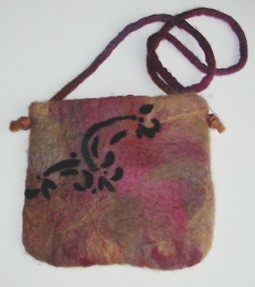
Rinse the felt out with water and a splash of vinegar to neutralize the soap.Stretch it to the shape you want. Roll it in a towel or hang it to drip dry. You now have a felted item that can be machine washed and dried.
 felted bag | 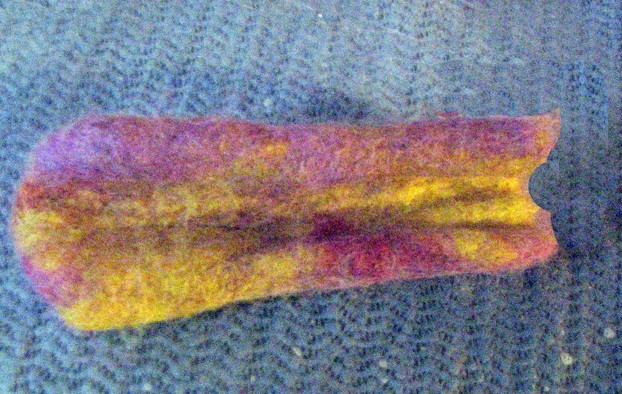 Fulling one way | 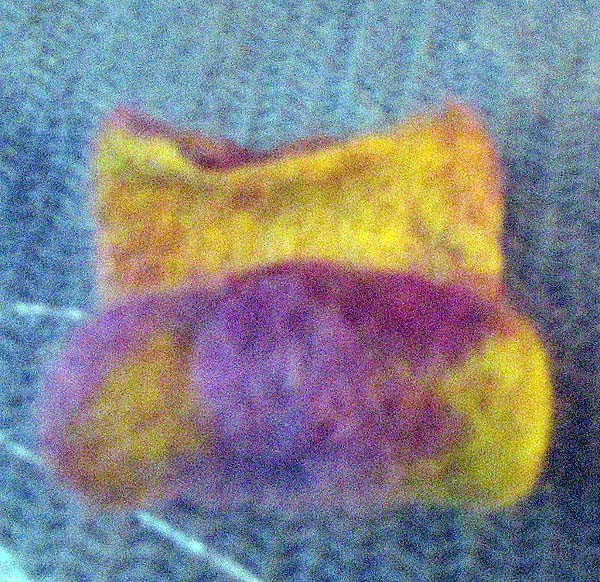 Fulling the o... |  Felted and fu... |
If any of your projects don't turn out, the felt is never wasted. If it doesn't felt well, it can be used as a pre felt, or cut up for embellishments. I've made lots of pretty flowers and butterflies out of felt that just didn't gel the first time. I learned not to get discouraged. It's all about letting your fingers tell you when it's right, and that just takes a little practice.


Updated: 09/14/2012, Ragtimelil
You might also like
Detailed Clover Pom Pom Maker InstructionsStep by step how to photo tutorial for making yarn and wool pom poms with a p...
Runescape Fans! Make Yourself a Hat for RunefestHave you wanted a really unique hat that you can wear any time? How about mak...
Disclosure: This page generates income for authors based on affiliate relationships with our partners, including Amazon, Google and others.

 How I Found My Free Family History Programon 09/05/2013
 Finding a Graveon 09/01/2013
 Do Border Collies Make Good Pets?on 08/11/2013
 Hubert Patey - an Indentured Servanton 08/02/2013


Comments or Questions
Yep. There's always a use for a little bag.
That's great! Send some picutures!
My daughter is so going to enjoy this activity. :)K
I know exactly what you mean. I find that I work in cycles. I can't fight it, have to go with the flow.
I know exactly what you mean. And thanks.
Great tutorial Lil. There's a lady on Etsy that makes the most beautiful felted bags. I was going to learn to do it, but I've told myself I just can't do everything, so for right now I'm sticking to knitting and watercolor. I make myself crazy trying to do every craft,art etc. in the world.
Too funny. The reason I like wet felting is that I'm just too slow of a knitter. I can felt a bag in an hour or two. I could never knit one in that amount of time.